Welcome the autumn season into your home with this adorable Dollar Tree DIY pumpkin topiary fall centerpiece.
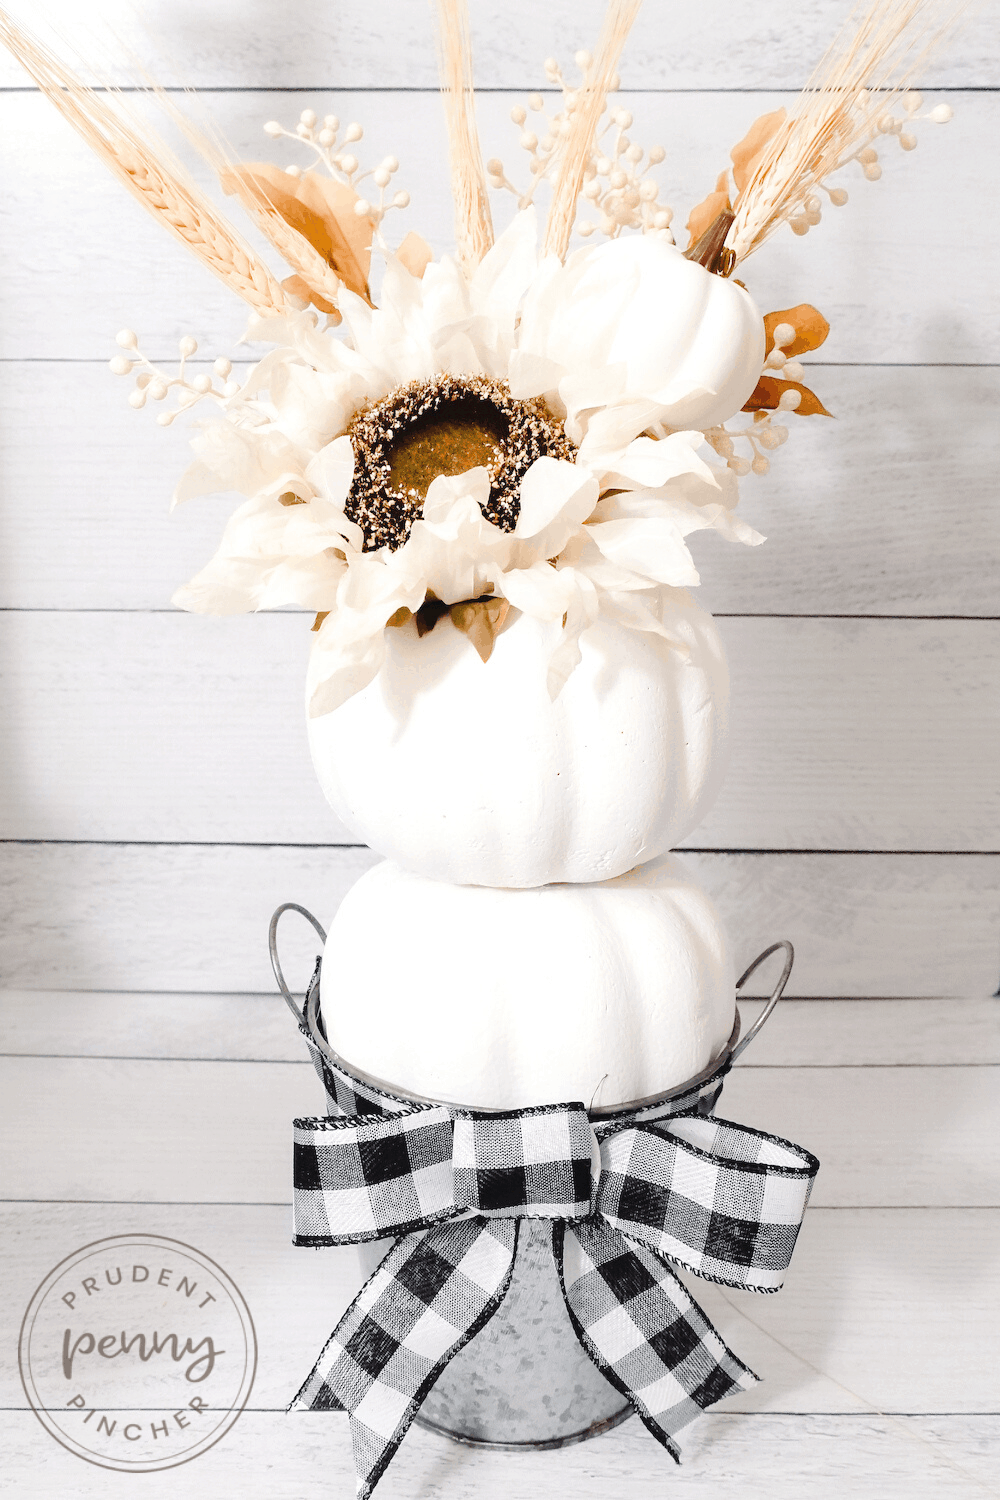
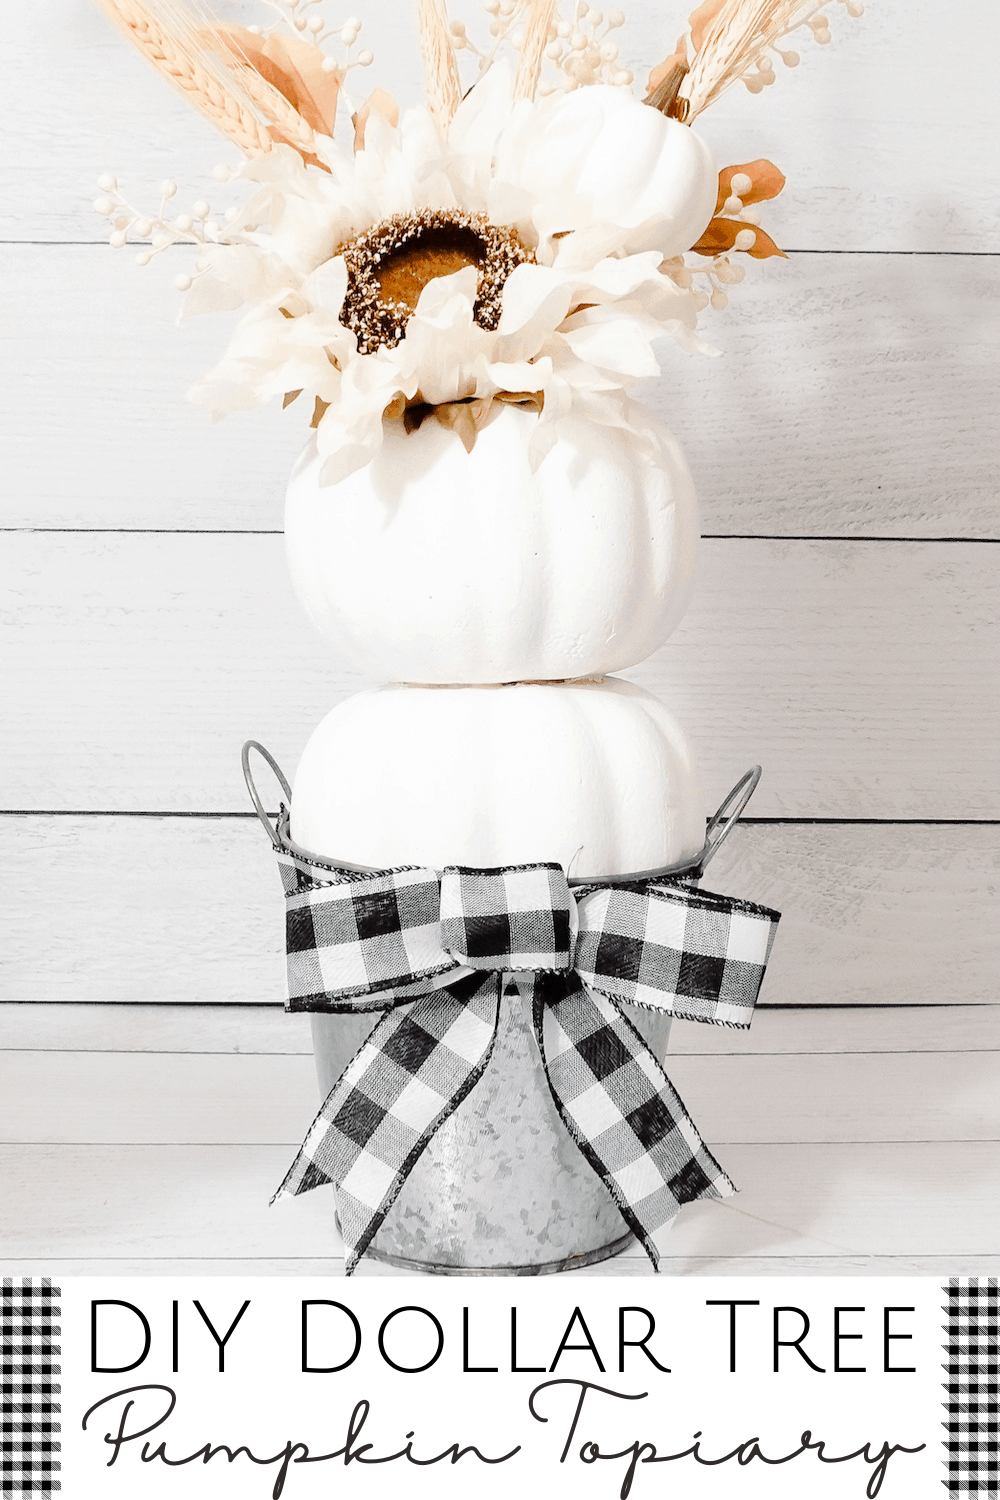
This dollar store fall decor idea costs under $10 to make and takes less than 15 minutes to put together. You only need a metal bucket planter, faux pumpkins, ribbon, paint, and fall florals. It’s a very easy, no-mess fall craft for adults!
I got all the supplies for this DIY Fall Pumpkin Topiary at Dollar Tree, except the chalk paint and the fall florals. The fall picks that I used came from Hobby Lobby. I included a link to them down below if you want the same ones. They were half off for $2 a piece, but Dollar Tree and Michaels have plenty of cute autumn picks. Also, I added a little wheat that I already had on hand.
These stacked pumpkins work great as a fall centerpiece, a fall mantel decor idea, or as a DIY Thanksgiving decoration for a tabletop.
How to Customize This DIY Pumpkin Topiary
The great thing about this project is that it’s very customizable. You can change the color of the pumpkins, the floral bushes, the planter, and more! It’s a neutral farmhouse fall decor idea, but you can easily switch things up and opt for more traditional fall colors using regular orange pumpkins if that suits your style more. Also, it can easily be converted into a Halloween table decoration by switching out the florals for something more spooky. The black rose bushes with the white glitter skulls from Dollar Tree would look great with this particular design.
Don’t forget to add your personal touches to this DIY fall decoration, which is always the fun part. Some other ideas include: adding a vinyl Cricut design to the planter or making small changes, like adding some Spanish moss at the pumpkin base between the large pumpkin and the planter. Put your own twist on it and make the pumpkin topiary your own!
This pumpkin topiary can be as big or as small as you want using the same instructions. So, if you wanted to use larger pumpkins and a bigger planter, you could easily transform this into an DIY outdoor fall decoration for to match your fall porch decor or fall yard decor. You can also make it taller by adding a middle pumpkin too.
Jump to:
Supplies Needed for This Stacked Pumpkin Topiary
- metal bucket planter
- buffalo check ribbon
- scissors
- two foam pumpkins (plastic pumpkins would work fine as well)
- florals and a sunflower pick, or floral stems of your choice.
- white chalk paint <— This is the one that I used. White acrylic paint will also work if that’s what you have on hand.
- paint brush
- glue gun and a glue stick
- a cotton ball and rubbing alcohol
Instructions
- Paint craft pumpkins white. Let it dry.
- (optional) Use rubbing alcohol on a cotton ball to remove the lettering on the metal bucket.
- Stack the pumpkins together with hot glue and put them in the bucket.
- Cut a ½-inch hole into the center of the top pumpkin.
- Add your choice of picks, stems, or floral bushes to the top of the pumpkin.
- Glue a ribbon along the upper edge of the metal bucket and add a bow to the center.
- To make the buffalo check bow, I used my Bowdabra bow maker to make a simple bow, but you can find tutorials for making them on Youtube without one.
For detailed instructions, see the printable how-to card below.
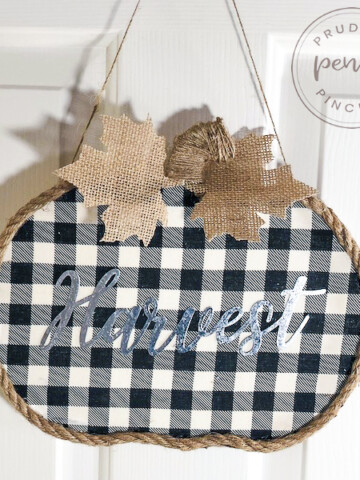
More Dollar Store Pumpkin Crafts
More Fall Decor Ideas
If you tried this DIY pumpkin craft or any other craft on my website, please leave a 📝 comment below and let me know how it went!
Follow me on Pinterest, Facebook, Flipboard, or Instagram for more inspiration on crafts, DIY, free printables, and recipes!
Dollar Tree DIY Fall Pumpkin Topiary
Equipment
- hot glue gun
- scissors
- paint brush
- glue sticks
Materials
- white chalk paint
- metal bucket
- buffalo check ribbon
- two foam pumpkins
- fall florals and picks
- rubbing alcohol and cotton ball optional
Instructions
- Paint foam pumpkins white. Let them dry. It took me a few coats to cover the pumpkins completely.
- (optional) Use rubbing alcohol on a cotton ball to remove lettering on the metal bucket.
- Glue one pumpkin on top of the other pumpkin and put them in the bucket. It should fit securely in the bucket so you shouldn't need to glue the bottom pumpkin down.
- Cut a ½ inch hole into the center of the top pumpkin.
- Add fall picks and fall florals to the top of the topiary.
- Glue a ribbon along the edge of the metal bucket and add a bow to the center.









Leave a Reply