Make a cute DIY snowman decoration on a budget with this Dollar Tree christmas craft.
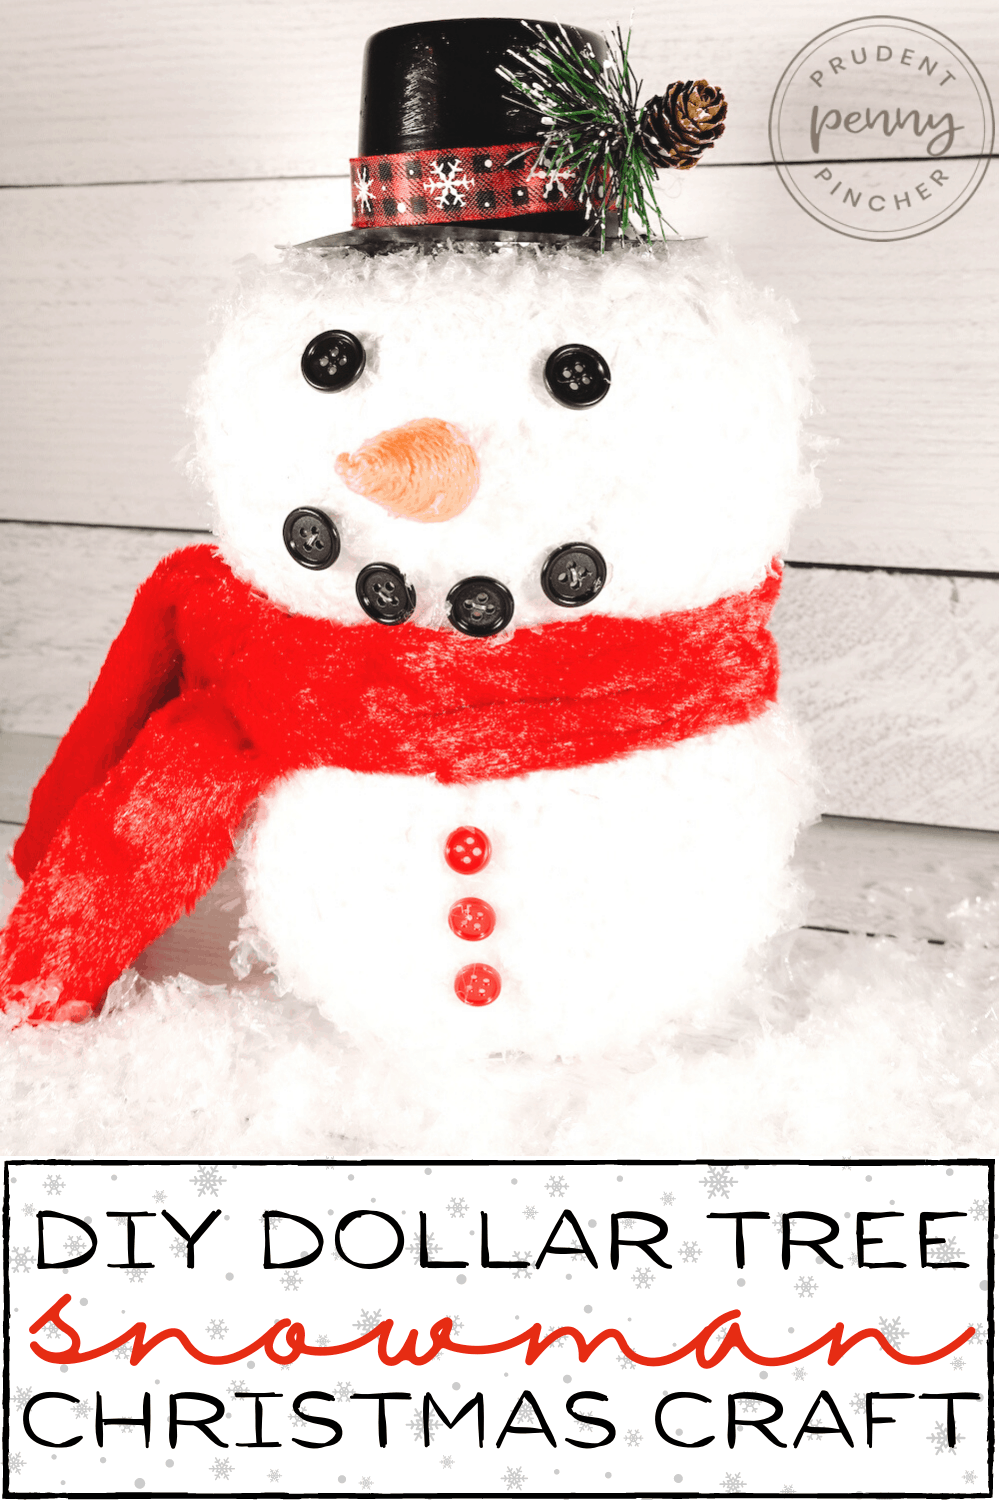
Transform Dollar Tree foam pumpkins into a cute snowman decoration! This Dollar Tree Christmas craft only requires a handful of supplies and costs under $6-7 to make. All the supplies required for this project you can find at Dollar Tree. This snowman craft would be a fun craft for adults or to make with your kids.
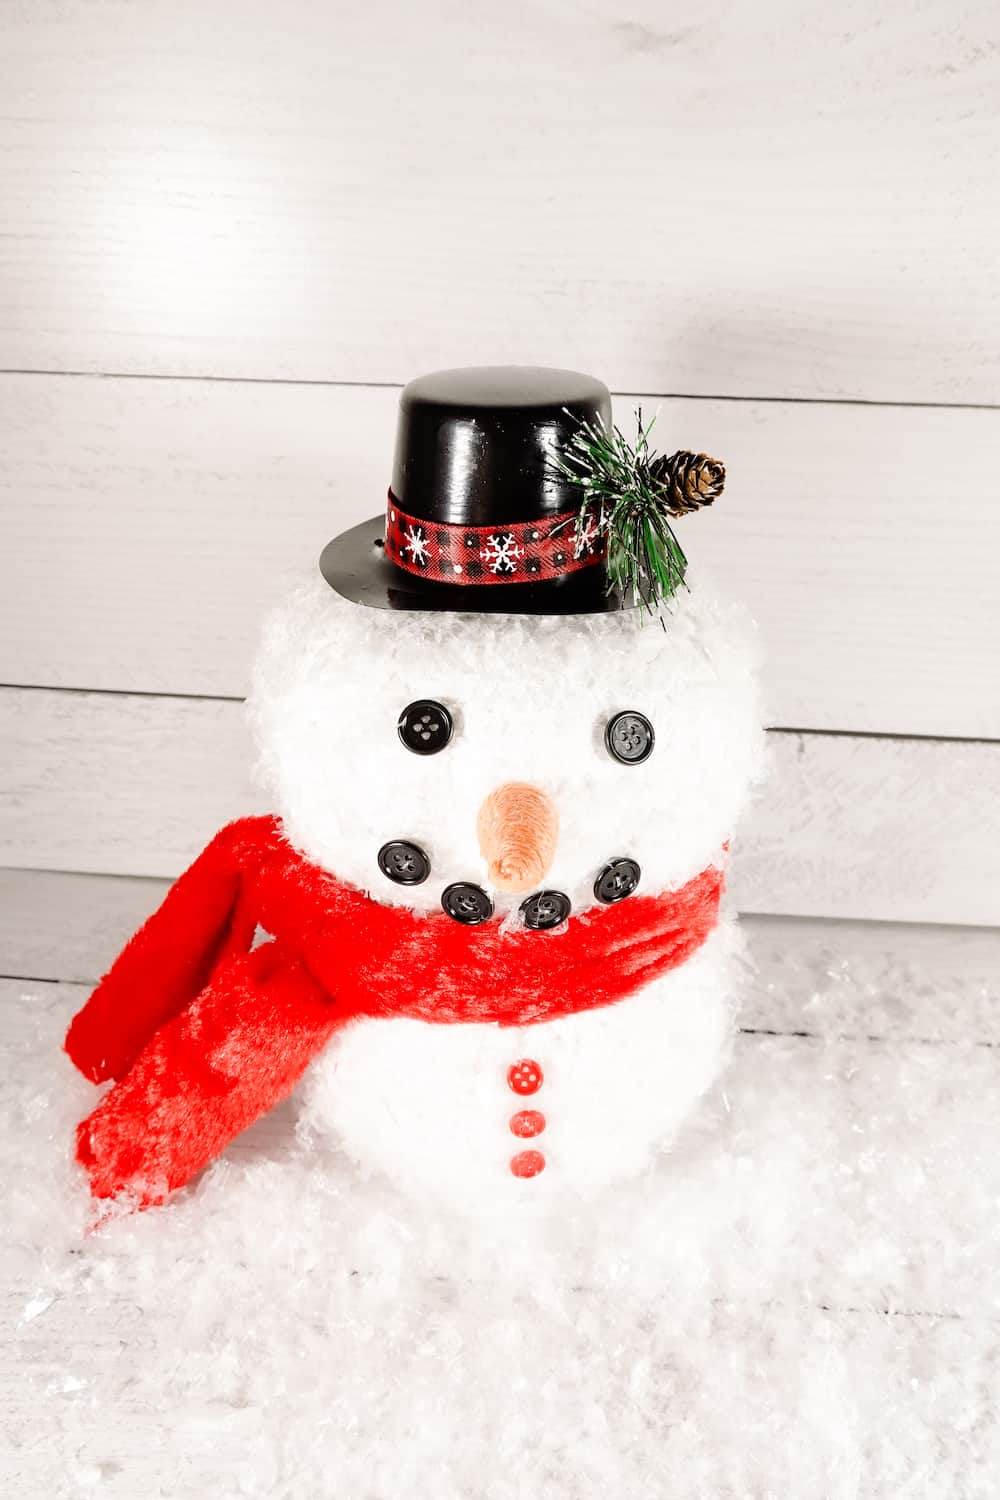
Most of the supplies for this project I had on hand from other DIY projects. The mini hat that I used was a 4th of July party accessory that I painted black (I had difficulty trying to buy a black hat that was the right size and it was cheaper just to use what I already had anyway). The red scarf I used is a fuzzy Santa garland from Dollar Tree. I just cut it down to size, folded it over and glued it with a glue gun. The twine carrot for the nose was a leftover Easter decoration from the dollar store too.
You won’t be able to find these items out of season if you don’t already have them so you may have to improvise with your snowman’s features based on what you have. For instance, you could get some mini foam cones from a craft store and some orange fabric or felt to wrap around it for the nose. You can also add sticks for his arms if you want.
This indoor DIY snowman decoration will add a festive touch to your home decor and makes a great addition to your holiday decorating. It would look great on a tabletop, mantel or as a Christmas centerpiece!
Materials Needed for this DIY Dollar Tree Snowman Decoration:
- foam pumpkins
- mod podge
- fake snow
- buttons
- scarf or fabric
- mini hat (and accents like ribbon and decorative Christmas pick – optional)
- white paint
- twine carrot
Craft Supplies Required:
- paint brush and/or foam brush
- scissors
- X-ACTO knife
- glue gun and glue sticks
- toothpick
Instructions for this DIY Dollar Tree Snowman Decoration:
- Paint the pumpkins white. Let it dry.
- Coat the pumpkin in Mod Podge and sprinkle on fake snow until it’s completely covered in snow. Let it dry.
- Glue down the buttons and hat using a glue gun.
- Wrap the scarf around the snowman neck.
- Cut the twine carrot in half and glue down the twine so it doesn’t unravel.
- Insert half the toothpick into the foam center of the carrot.
- Push the other half of the toothpick into the snowman where his nose should be.

DIY Dollar Tree Snowman Decoration
Equipment
- X-ACTO knife
- scissors
- glue gun and glue sticks
- paint brush and/or foam brush
Materials
- white acrylic paint
- 2 foam pumpkins
- mod podge
- 1 small bag fake snow
- 9 buttons black and/or red
- small scarf, fabric, or wide ribbon
- 1 mini top hat Optional -decorative accents for the hat like a christmas ribbon or a Christmas pick
- 1 easter twine carrot
- 1 toothpick
Instructions
- Paint the pumpkins white. Let it dry. You may need to do multiple coats to fully cover the pumpkin. I recommend white chalk paint as it has better coverage.
- Coat the pumpkin in Mod Podge using a foam brush and sprinkle on fake snow. Work in sections at a time so the Mod Podge doesn't have time to dry. Keep going until the pumpkin is completely coated in snow. Let it dry.
- Wrap the scarf around the snowman's neck. If you are using a piece of fabric, you will need to measure and cut the correct length for the snowman.
- Glue down the buttons for the eyes, mouth and shirt using a glue gun.
- Glue any decorative accents that you want to add to your mini hat.
- Cut the twine carrot in half with the X-ACTO knife and glue down the twine so it doesn’t unravel.
- Insert half the toothpick into the foam center of the carrot. Push the other half of the toothpick into the snowman where his nose should be.


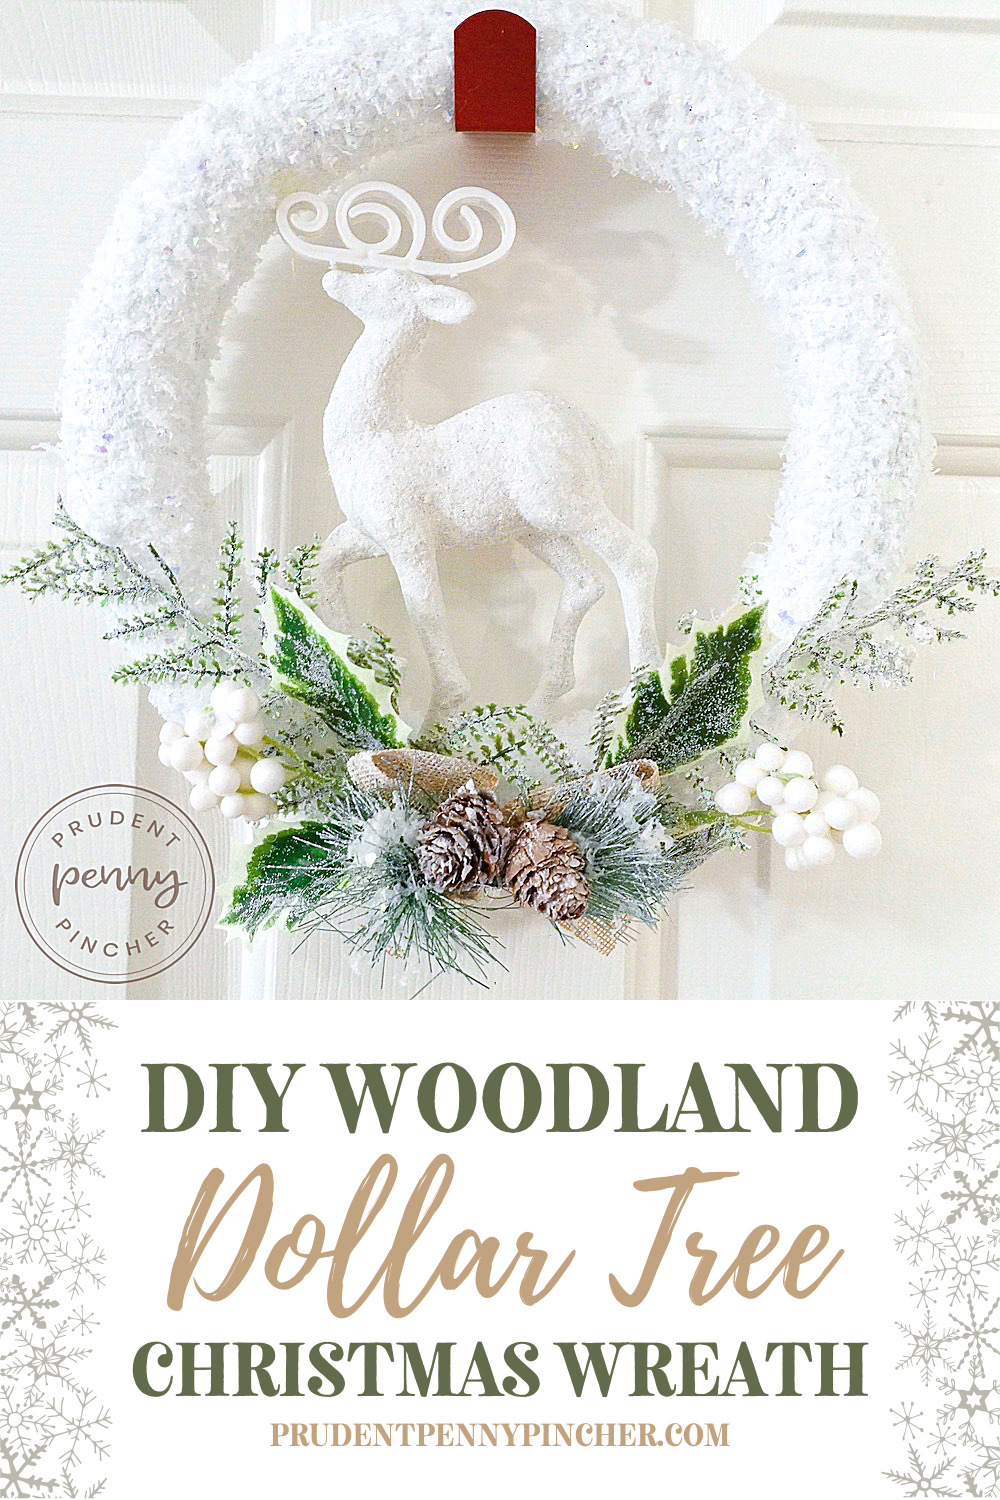 DIY Woodland Dollar Tree Christmas Wreath
 100 Dollar Store Christmas Decorations






Autumn Brooke says
Oh this is so cute! I love a good Dollar Tree craft.