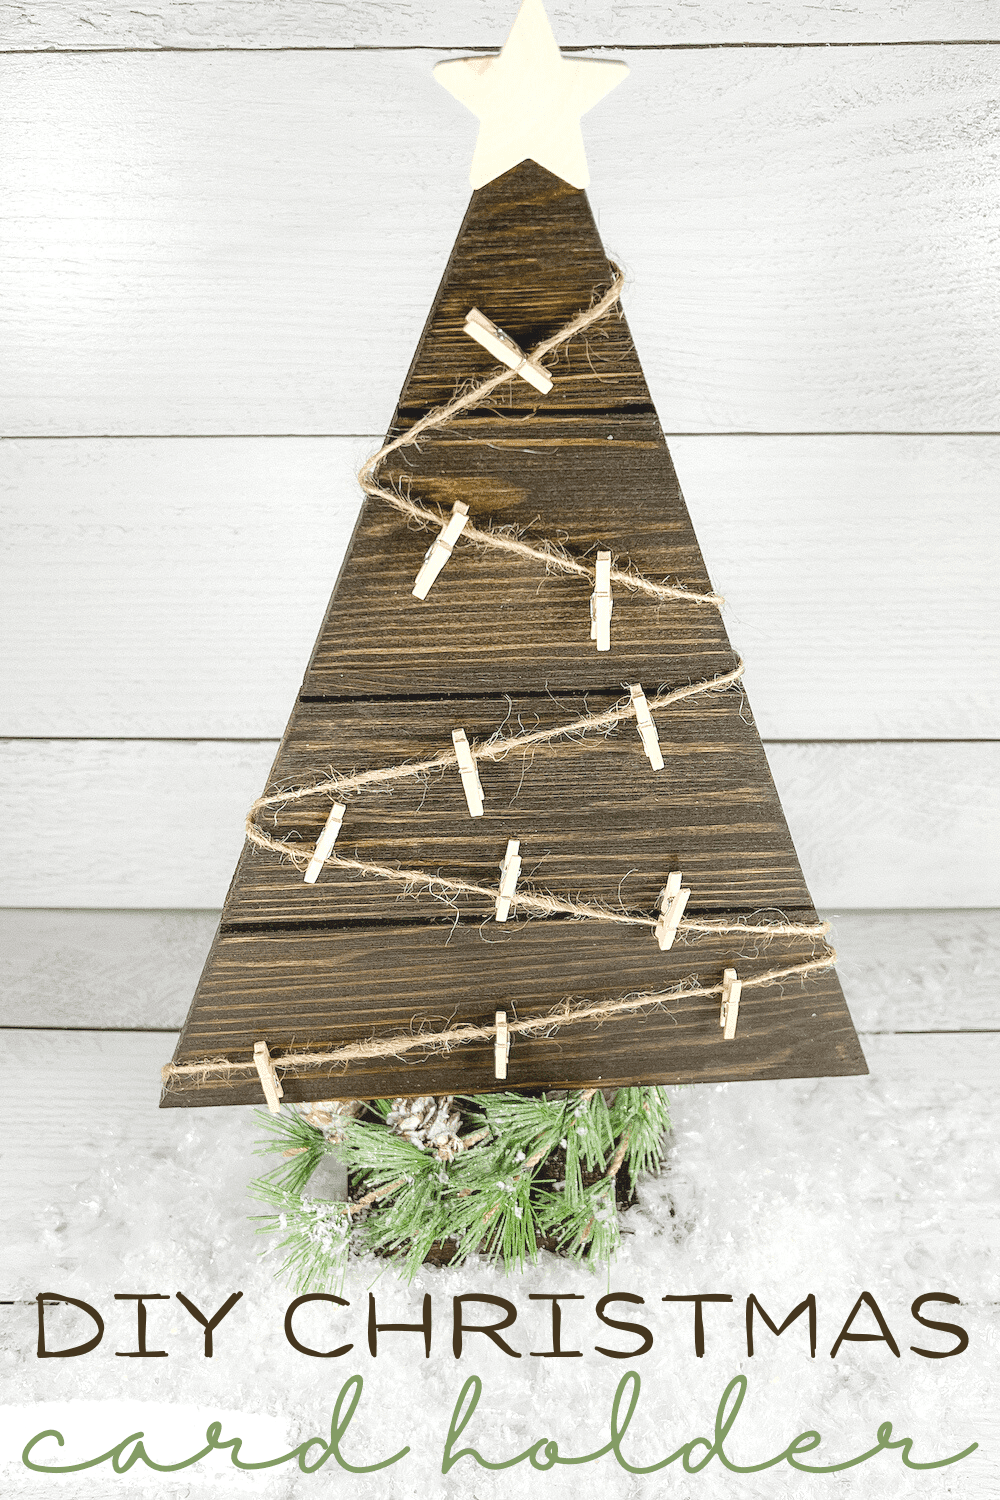
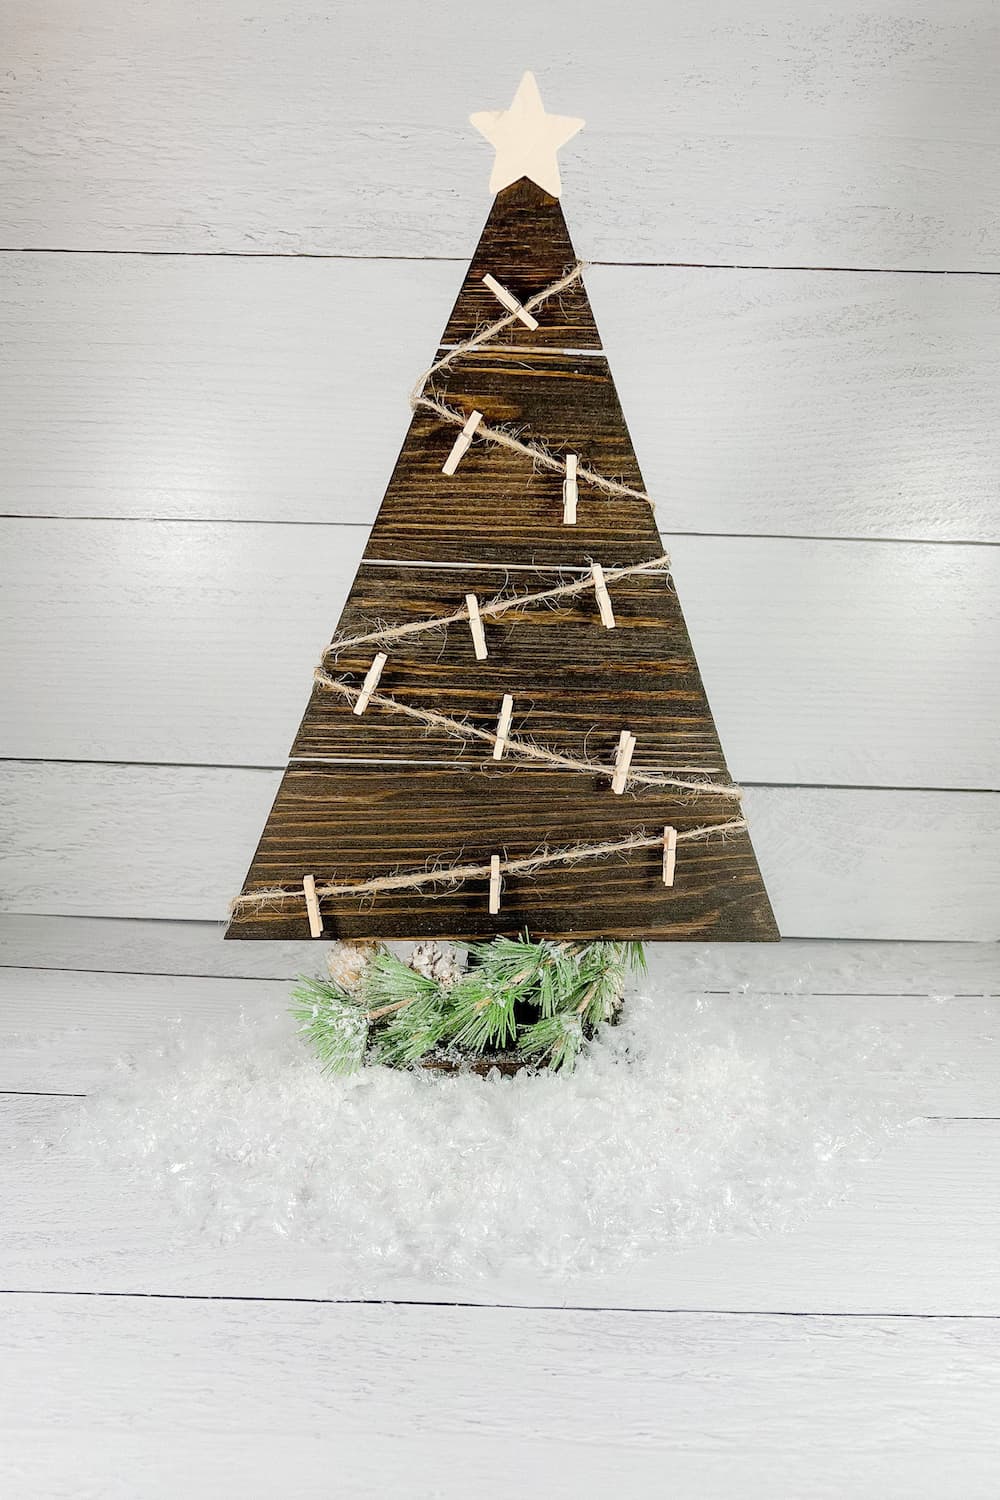
Display your favorite christmas cards and Christmas photos with this easy DIY rustic wood christmas tree card holder this holiday season.
It’s free-standing so it fits perfect on a tabletop so it makes a great DIY christmas decoration to showcase your holiday cards on one of your tables or the fireplace mantel. Your guests will love this sentimental christmas card display idea.
It cost less than $10 to make this DIY project. I got the basic wood Christmas tree in the holiday decor section at hobby lobby for about $5 when it was on sale. They had a few that were different sizes you can pick which one that you want. The twine, wood star, small clothespins and bristle brush came from Dollar Tree so that only cost a few dollars. I already had christmas pick on hand, but I believe I got it from Michaels.
Christmas Card Holder Supplies
- wood christmas tree (found at Hobby Lobby)
- walnut wood stain
- bristle brush (for applying stain)
- twine
- mini clothespins (you could also use binder clips or paper clips if you don’t have the clothespins)
- wood star
- christmas pick
- floral wire
- floral wire cutters
- hot glue gun
- scissors
Variations:
Consider making this Christmas display with your own twist:
- Add fairy lights.
- Spray paint the christmas tree green instead of staining it to add a pop of color.
- Add a mini tree topper instead of a wood star.
- Add faux snow.
- Glue on some mini christmas ornaments.
- Paint the wood star or add some glitter to it.
Christmas Card Holder Instructions
- Apply the wood stain to the christmas tree and let it dry.
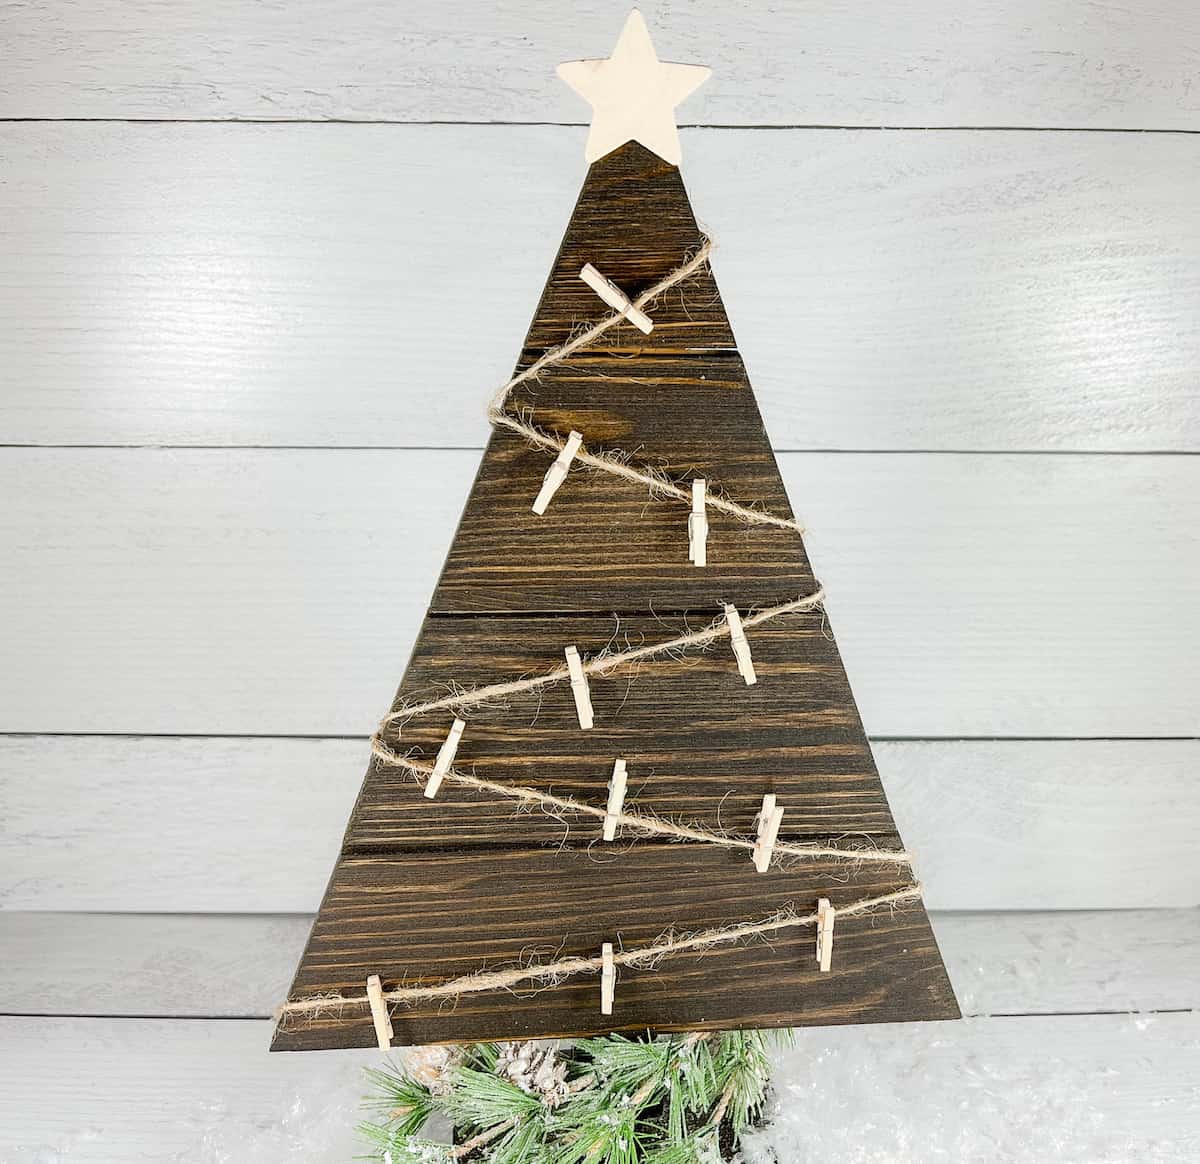
- Glue the twine to the back of the Christmas tree and wind it around at an angle, gluing it to the back each time you wrap it across and go in the opposite direction every time to get the zigzag effect.
- Add the mini clothespins to Christmas tree.
- Snip the ends of the christmas pick off and attach the christmas pick to the base of the tree with the floral wire.
The detailed instructions are down below in the how-to card.
DIY Rustic Christmas Card Holder
Equipment
- bristle brush
- floral wire cutters
- floral wire
- scissors
- hot glue gun and 1 glue stick
- cloth
Materials
- wood christmas tree
- wood stain walnut
- twine
- wood star
- christmas pick
Instructions
- Using your brush, apply the wood stain to your Christmas tree going with the grain. Make sure the tree is completely covered.
- Let your stain sit for up to 5 minutes depending on how dark you want the color to be. The longer you leave it on the darker it will be.
- Wipe off the extra stain with a clean lint free cloth.
- Let it dry. It takes about 2 hours.
- Glue the twine to the back and wind it around to the front at an angle. To get the zigzag effect, you are going to glue the twine to the back each time you wind it around and go in the opposite direction.
- Add the mini clohthespins. Once you have them where you want them, glue the backs of the clothespins to the christmas tree so they will support the weight of the cards better without flipping over.
- Glue the wood star to the top of the tree.
- Cut the ends of the christmas pick off and attach it to the base of the Christmas tree with floral wire.
 150 Rustic DIY Christmas Decor Ideas






Leave a Reply