Get your kids buzzing with excitement with these easy bee crafts for kids, perfect for home, school, and springtime fun.
Whether you’re looking for a rainy-day activity, a classroom project, or a way to teach kids about the importance of pollinators, these spring crafts for kids are great for all ages. From adorable paper bees to eco-friendly recycled materials projects for Earth Day crafts, these crafts are buzz-worthy.
These projects are designed for children of all ages, making them perfect for toddlers, preschoolers, elementary-aged kids, and even older kids who want to join in the fun. Plus, many of these projects use affordable, everyday materials, making them budget-friendly for parents and teachers alike.
As you explore this collection of bee crafts, you’ll find a mix of easy, no-fuss activities and more detailed projects for those who love a challenge. Whether you’re making a buzzing bumblebee headband, a honeycomb masterpiece, or a mason bee habitat, these activities offer endless ways to learn, create, and connect with nature.
Bee Crafts for Kids
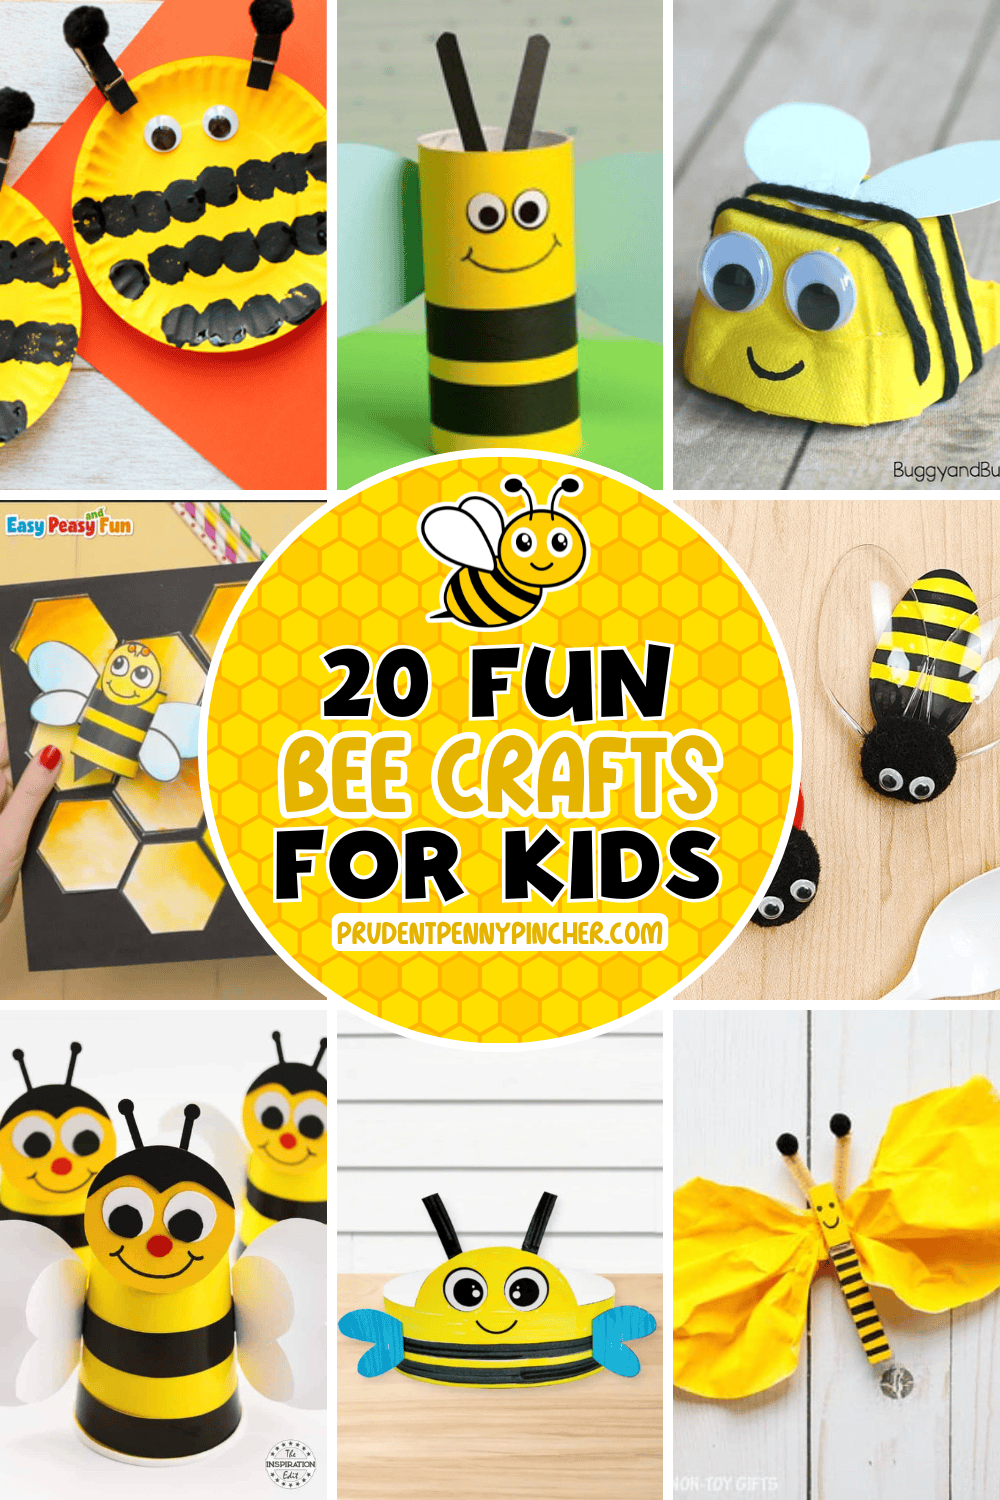
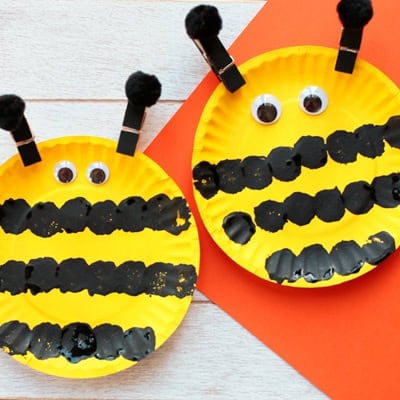
This craft is perfect for preschoolers and young children. It transforms a simple paper plate into an adorable bumblebee. It's a fun activity for spring crafts or insect-themed lessons. You'll need a paper plate (white or yellow), yellow and black paint, pom-poms, wooden clothespins, googly eyes, and glue to create this bee.
Begin by painting the paper plate yellow and allowing it to dry. Next, use a pom-pom held with a clothespin as a handle to paint black stripes across the plate, starting from the bottom and going about halfway up, leaving the top portion yellow for the face.
For the antennae, paint two wooden clothespins black and, once dried, glue a black pom-pom to the top of each. Attach these clothespins to the top of the plate. Finally, glue on googly eyes to complete the bee's friendly face.
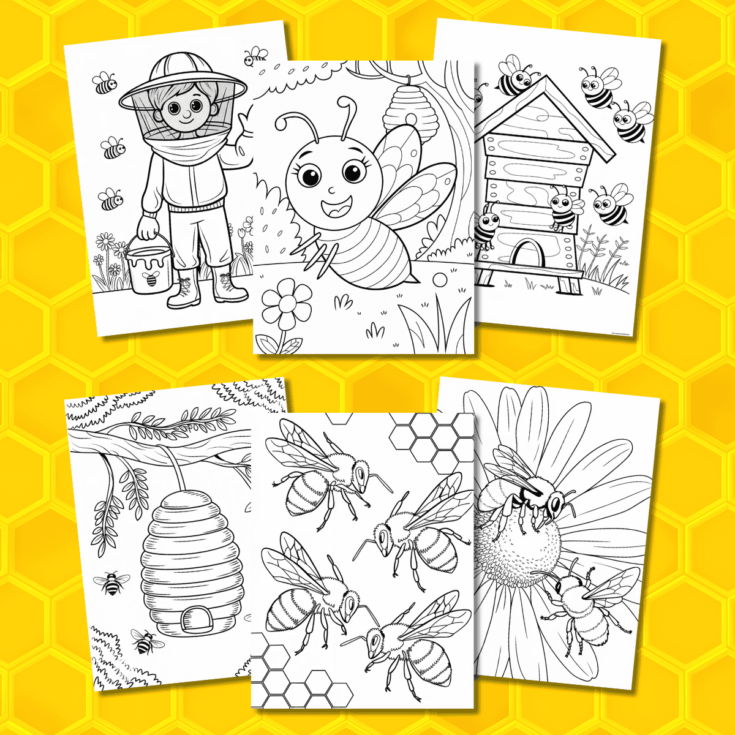
These free printable coloring pages are perfect for all ages and make a fun spring or summer activity. From simple outlines for toddlers and preschoolers to more detailed, intricate designs for older kids and teens, these bee coloring pages offer a great way to encourage creativity while also fostering an appreciation for these hardworking insects.
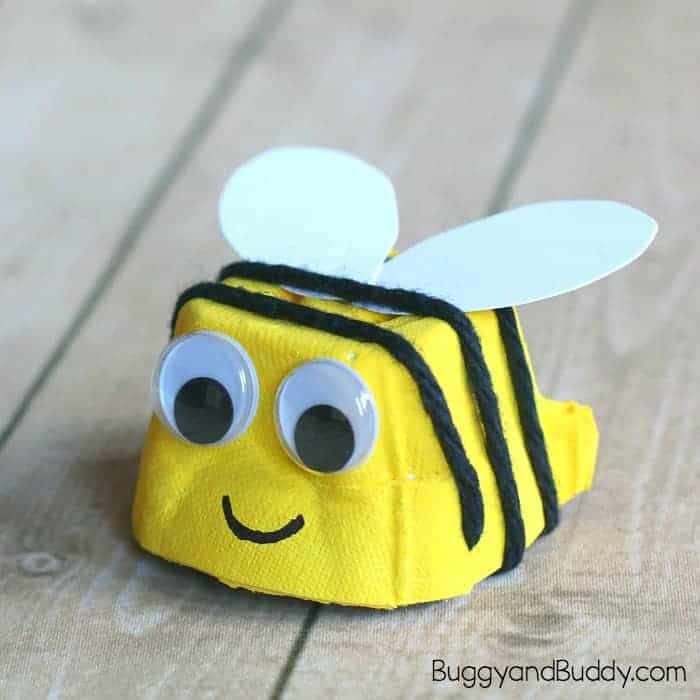
This eco-friendly project repurposes egg cartons into cute little bumblebees. Children begin by cutting individual sections from an egg carton and painting them bright yellow. Once dry, black yarn is wrapped around the painted carton to create the bee's signature stripes, with small slits cut into the carton to secure the yarn ends. Googly eyes are then glued on to give the bee a friendly face, and wings are crafted from white construction paper and attached to the top.
This craft enhances fine motor skills and teaches the value of repurposing materials. It's an ideal activity for preschoolers and kindergarteners and makes a great Earth Day craft for kids.
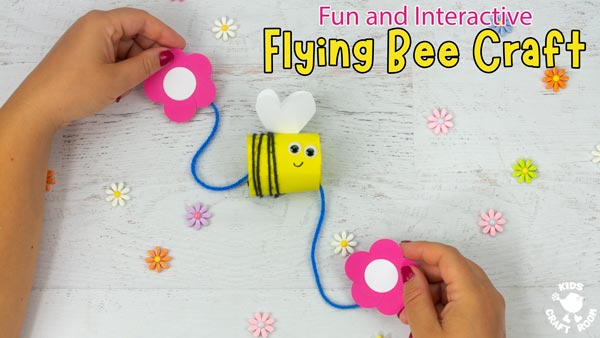
This interactive project upcycles cardboard tubes into flying bees. Children begin by cutting a cardboard tube in half and covering it with yellow paper or painting it yellow if preferred. Black yarn is then wrapped around the tube to create the bee's characteristic stripes, secured with tape.
Googly eyes and a drawn-on smile add personality to the bee's face, while white paper wings are attached to the sides. To ensure the wings remain on top, a small coin or pebble is taped inside the bottom of the tube for balance. Then, a length of blue yarn is threaded through the bee, with a paper flower attached to each end.
By holding a flower in each hand and moving it up and down, kids can watch their bees "fly" from one flower to another. This craft introduces children to the concept of pollination and the importance of bees in nature.
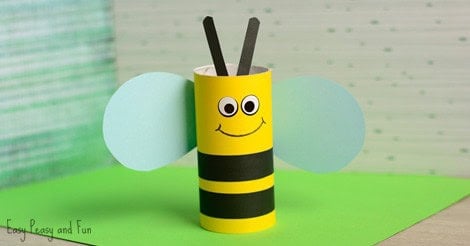
This project transforms an ordinary paper roll into a cute little bee. Children wrap a yellow paper strip around the roll and secure it with glue. Black paper strips are then added to create the bee's stripes. Then, wiggly eyes stickers and a smile is drawn onto the bee's face. White paper wings and black paper antennae are attached to complete the project. This craft is perfect for young children.
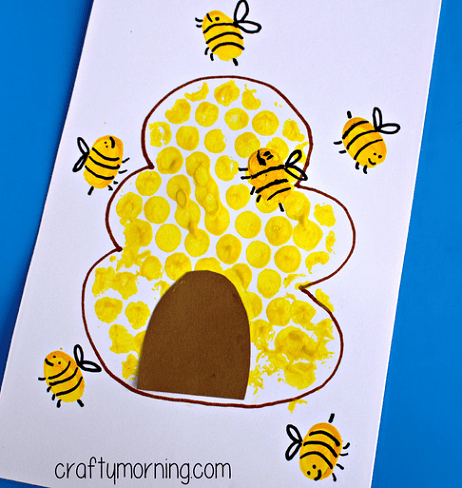
This fun craft combines painting and stamping techniques. Children begin by cutting a beehive shape from bubble wrap, painting it yellow, and stamping it onto white paper to create a textured hive effect. Once the hive is complete, kids use their fingertips dipped in yellow paint to add bees around it.
After the paint dries, details like wings, stripes, and faces are added with a black marker, bringing the bees to life. This craft helps develop fine motor skills and introduces children to the concept of recycling materials for art. It's an ideal project for preschoolers and younger kids.
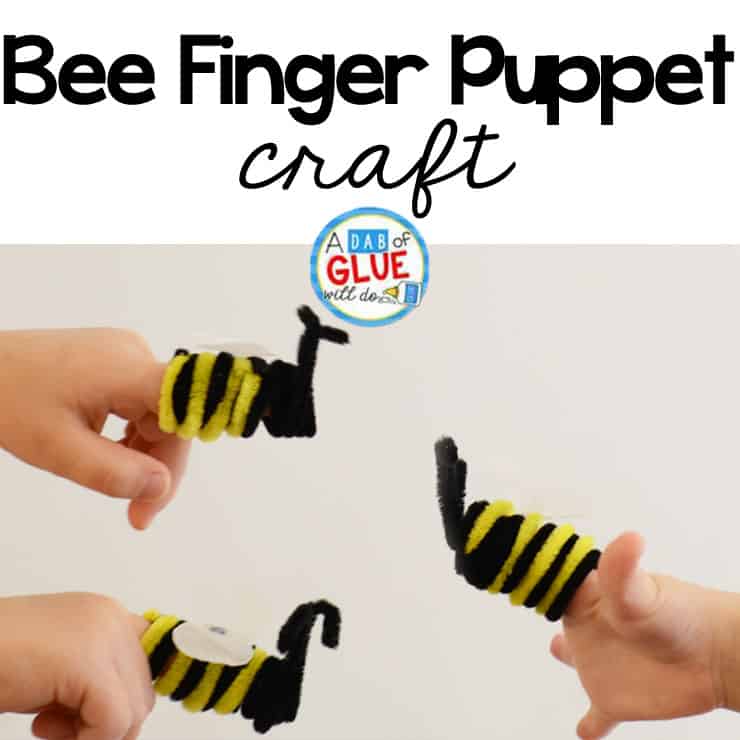
This simple activity is perfect for young children. Kids can twist and shape their buzzing finger puppets using three pipe cleaners—two black and one yellow. The craft begins by bending one black pipe cleaner in half to form the bee's body. The yellow and remaining black pipe cleaners are wrapped around this base to create the bee's stripes.
Tissue paper is used to make wings. Once assembled, these finger puppets can be used in various fingerplays and songs, making them fun and educational for preschoolers and kindergarteners.
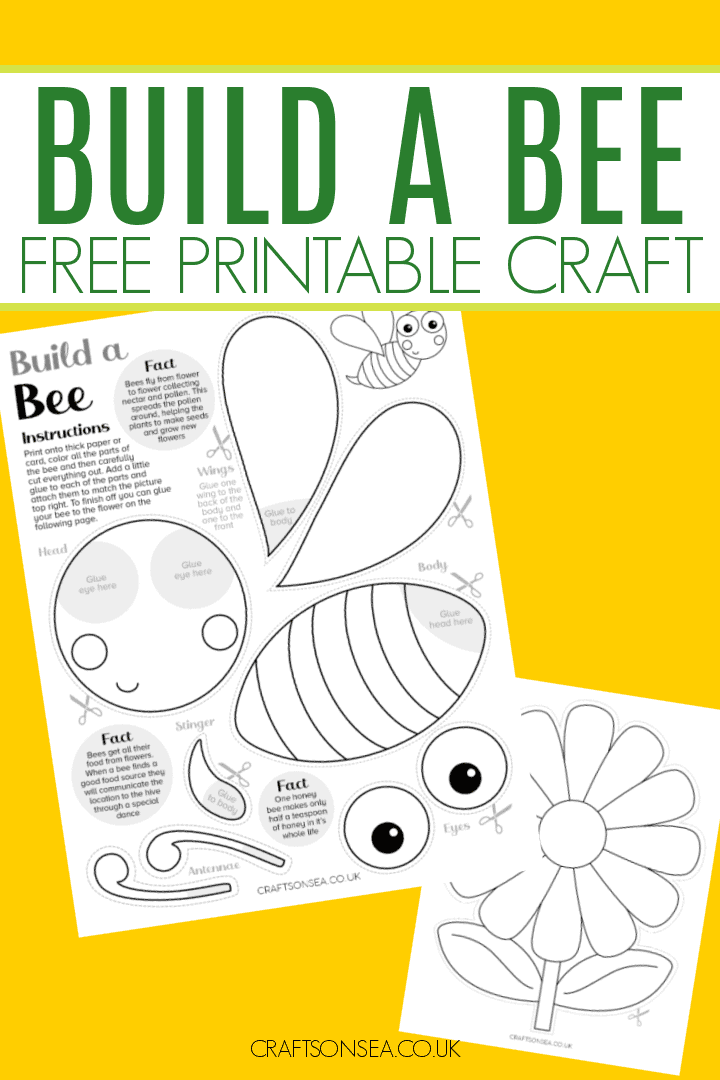
Assemble your own bee using a free printable template! This craft involves coloring, cutting, and pasting, making it perfect for enhancing fine motor skills. The printable includes all the necessary bee parts, such as the body, wings, and antennae, which children can color in their preferred shades.
After coloring, kids can cut out the pieces and assemble the bee by following simple instructions, resulting in a personalized and charming insect friend. This activity is ideal for spring and summer crafts and insect studies.
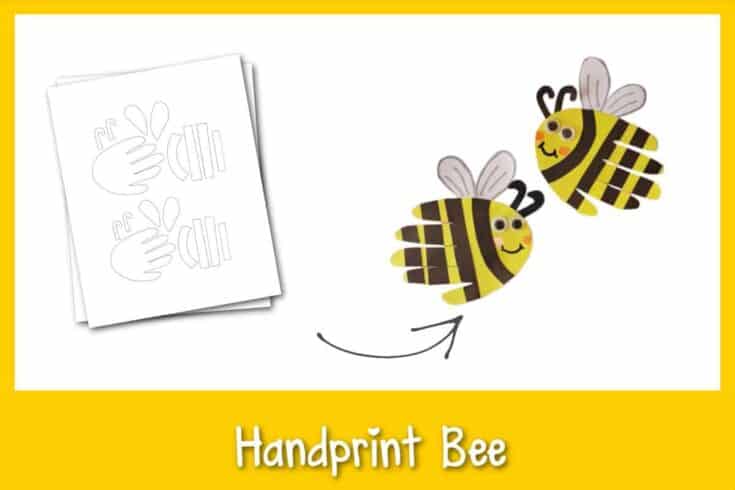
This personalized activity transforms your child's handprint into an adorable buzzing bumblebees. It also serves as a cherished keepsake of your child's handprint. For this craft, children trace their handprints onto yellow paper using the provided free template to form the bee's body.
Black paper strips are then glued across the handprints to create the stripes. White paper wings are decorated with patterns using a sharpie and attached to the sides, while black antennae are added on top. Googly eyes give the bee a friendly face, and a drawn-on smile completes the craft.
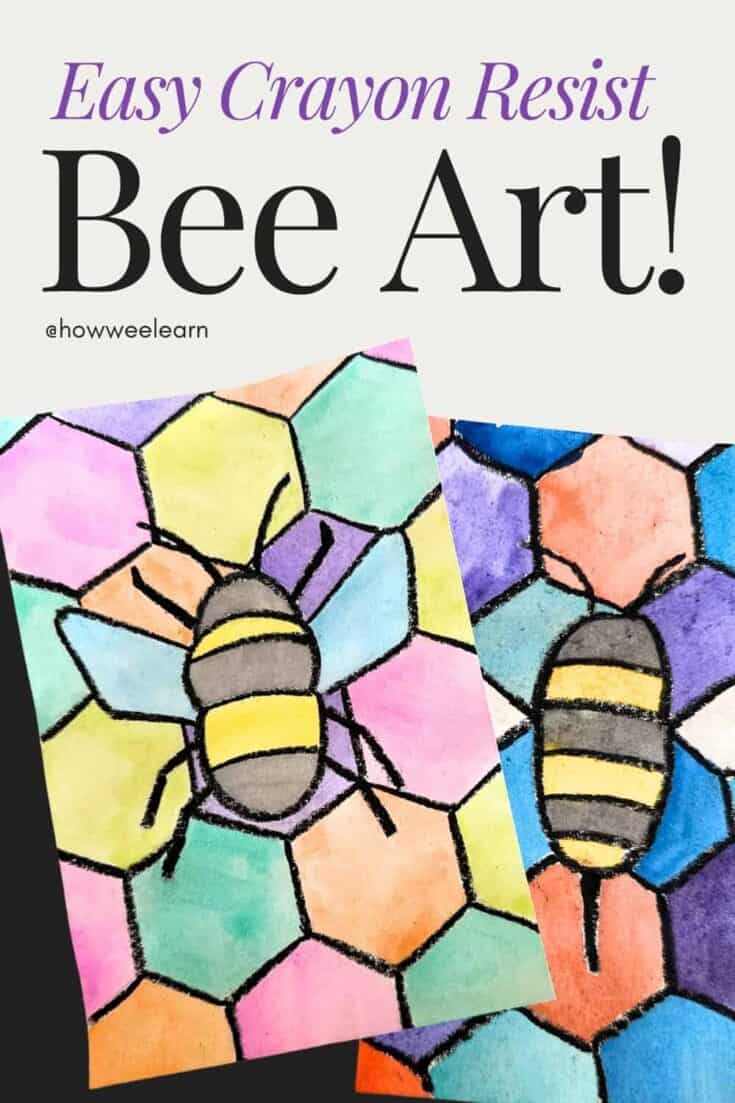
This project combines drawing and painting techniques to produce a vibrant bee-themed artwork. Children begin by sketching a simple bee in the center of a piece of white paper, preferably watercolor paper. They then draw connecting hexagons around the bee to represent a honeycomb pattern. Tracing all the pencil lines with a black crayon or pastel creates a wax resist effect.
When watercolor paints are applied over the drawing, the crayon-resisted areas remain distinct, allowing the bee and honeycomb design to stand out beautifully. This activity introduces children to concepts like tessellation and the importance of bees in pollination.
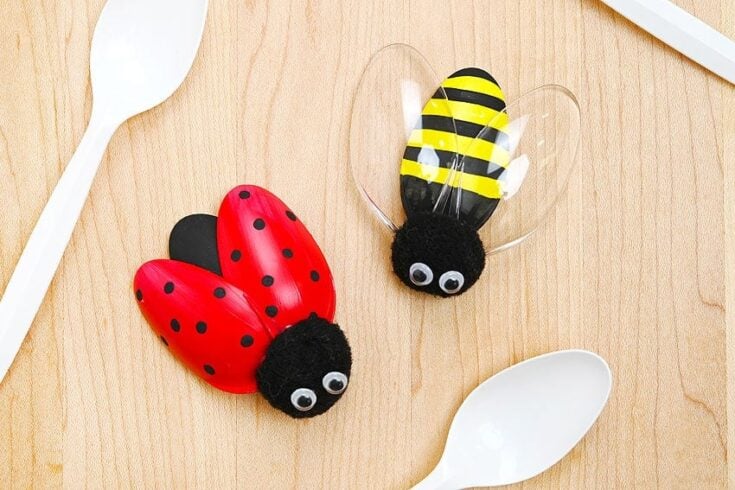
This eco-friendly activity repurposes plastic spoons into charming ladybugs and bumblebees. For a bumblebee, use one white spoon painted yellow with black stripes for the body and two clear spoons for the wings.
After painting, the spoons are assembled using hot glue, with a black pom-pom serving as the head and googly eyes to give the bug a friendly expression. This craft teaches children about recycling and the importance of insects in our ecosystem. It's suitable for classrooms, playdates, or crafting fun at home.
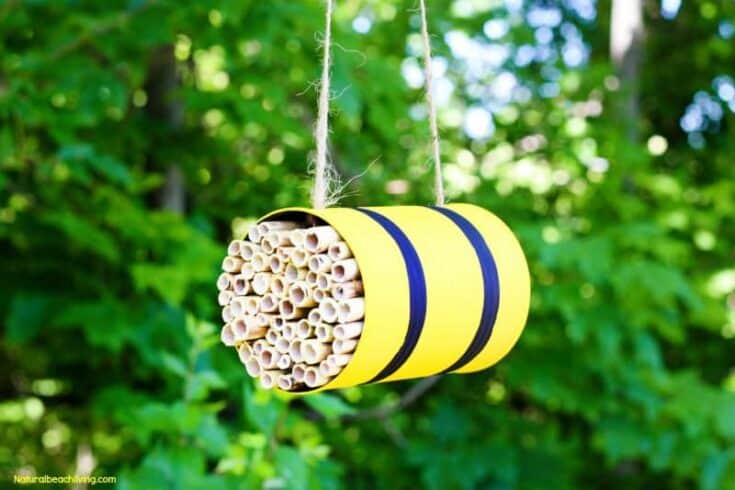
This project supports local pollinators by providing a safe nesting site for mason bees, which are non-stinging and excellent for pollination. To create this habitat, you'll need an empty tin can painted yellow with black stripes to resemble a bee.
After the paint dries, use a hammer and nail to make two small holes on opposite sides of the can's open end. Thread a piece of string through these holes to create a hanger. Next, fill the can tightly with cut bamboo pieces, ensuring they fit snugly.
Hang your new bee house in a tree or near your garden, and wait for the bees to move in. This hands-on activity educates children about the importance of bees and contributes to the conservation of these vital insects.
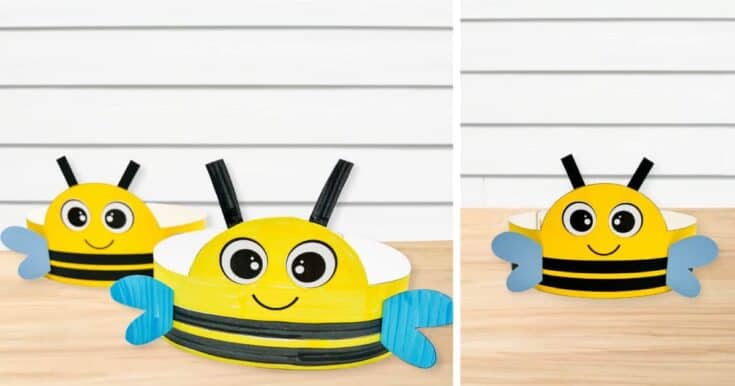
This easy-to-make accessory lets kids transform into cute little bees. Utilizing the free printable template, children can craft their own headbands with minimal supplies. The process involves cutting out the bee's head, stripes, eyes, antennae, and wings from colored cardstock.
After assembling these pieces, the headband is completed by attaching extenders to fit comfortably around the child's head. This craft enhances fine motor skills and is great for imaginative play.
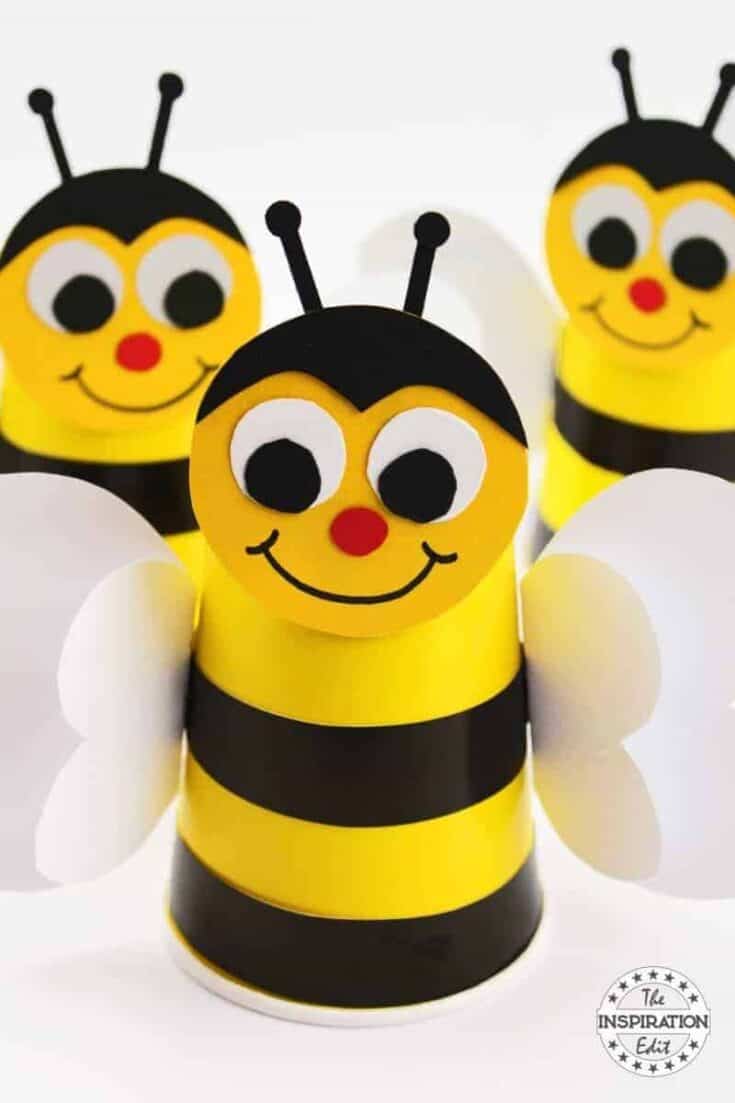
This preschool activity transforms ordinary paper cups into cute bumblebees. You'll need black and yellow paper cups, black, yellow, red, and white cardstock or construction paper, glue, scissors, and a black marker to create this craft.
The process involves cutting a black cup to form strips, which are then glued onto a yellow cup to create the bee's stripes. Using the provided template, children can cut out and assemble the bee's head, eyes, antennae, and wings from the cardstock. Once assembled, these adorable bumblebees can be used to teach kids about bees and pollination.
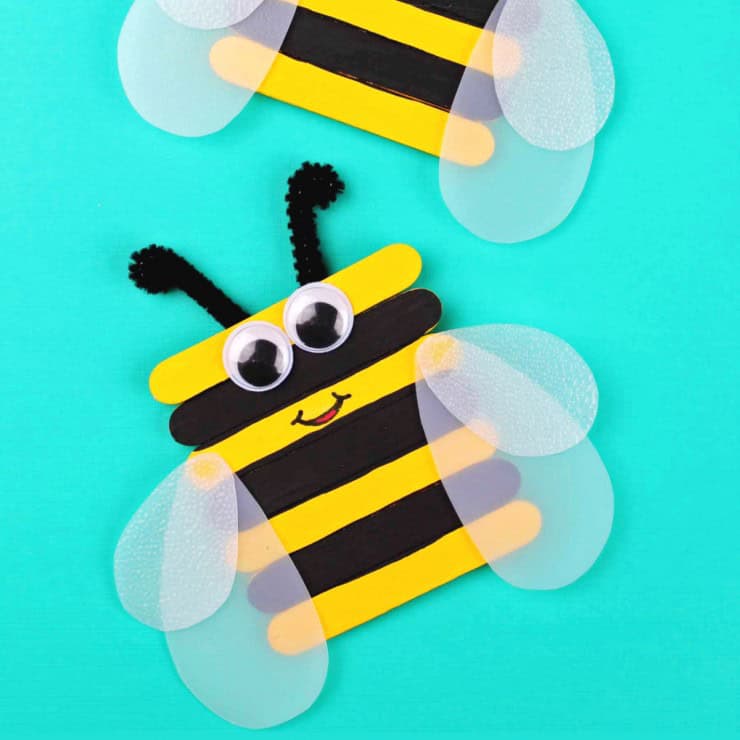
This project is perfect for preschoolers and kindergarteners. To create this bumblebee, you'll need seven mini popsicle sticks glued together side by side. Once assembled, paint the sticks yellow and allow them to dry completely. Next, paint every other popsicle stick black to form the bee's characteristic stripes.
Repurpose a clean milk or water jug for the wings by cutting out flat plastic sections. Trace and cut out wing shapes from the plastic, using a cardstock template if needed. Attach the wings to the back of the bee and glue googly eyes at the top to give it a friendly face.
To add antennae, cut a pipe cleaner into four pieces, twirl the ends, and glue them onto the back of the bee. Finally, use black and red paint pens to draw a cheerful smile.
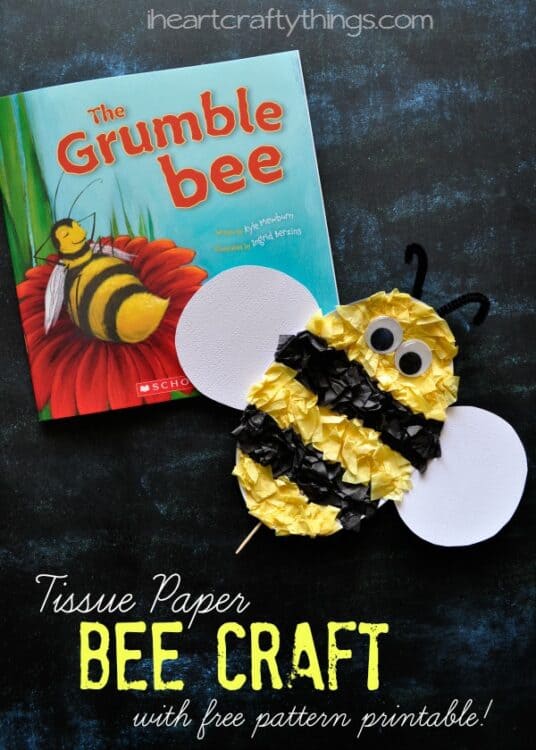
Using the provided free printable bee pattern, children can cut out the bee shape and decorate it by gluing yellow and black tissue paper squares to form the bee's stripes. Black pipe cleaners are fashioned into antennae and attached to the back, while a toothpick or folded pipe cleaner serves as the stinger. White cardstock is used to create wings, which are glued to the back of the bee. Googly eyes add a playful touch to the bee's face.
This craft is perfect for preschoolers and young children. It's a great way to improve fine motor skills. The finished bees make cute DIY spring decorations for classrooms or home displays.
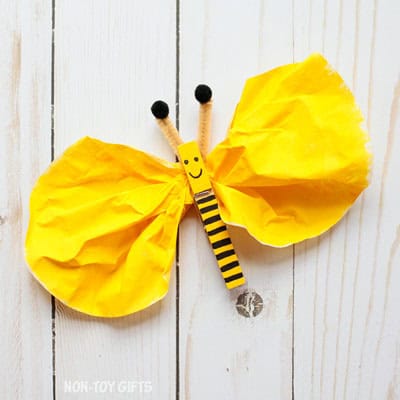
This craft transforms everyday items into a cute little bee. To create this bee, you'll need a wooden clothespin, yellow paint, a black marker, a coffee filter, a pipe cleaner, and two black pom-poms. Begin by painting the coffee filter yellow and setting it aside to dry. Next, paint one side of the clothespin yellow. Once dried, use a black marker to draw eyes, a mouth, and stripes on the clothespin. Gather the painted coffee filter in the middle and secure it with the clothespin to form the bee's wings. Cut a piece of pipe cleaner for the antennae, glue a black pom-pom to each end, bend it into a V shape, and attach it to the coffee filter.
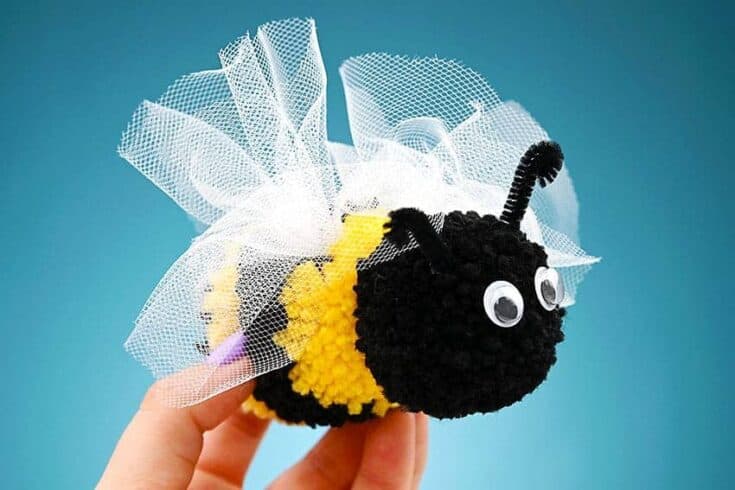
This craft involves creating two pom poms: one for the bumblebee's head and another larger one for its body. The body is crafted by wrapping yellow and black yarn around your fingers in alternating sections to form the bee's stripes. After tying and trimming the yarn to achieve a neat oval shape, the head is made similarly using black yarn. The two pom poms are then glued together. White tulle is used for the wings and attached to the body, while black pipe cleaners are its' antennae. Googly eyes are added to the face to finish off the craft.
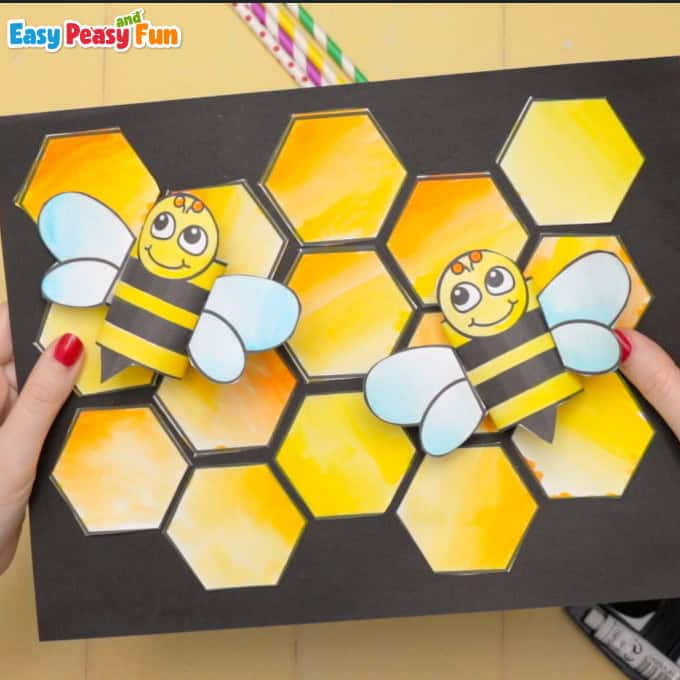
This craft is a great way to introduce children to the fascinating world of bees and their intricate honeycombs. Using the provided templates, kids can color the honeycomb in a golden hue to mimic real honeycombs.
After coloring, they cut out the bumblebees, assemble them by gluing the sides together, and attach the wings. Once the bees are ready, they can be added to the honeycomb, which is then glued onto a black sheet of construction paper for a striking contrast.
This craft is a good educational tool for teaching children about the structure of beehives and the role of bees. It's an ideal project for a unit study on insects.
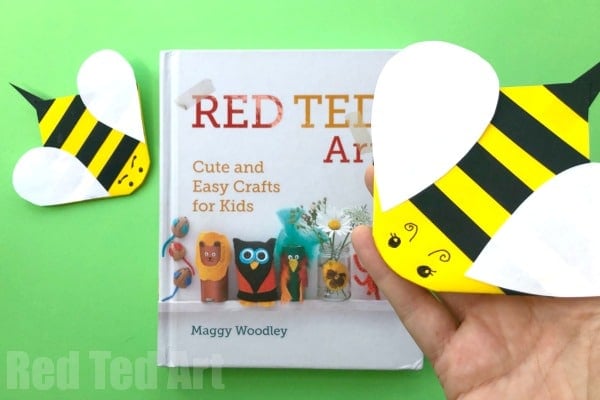
This one transforms a simple piece of paper into a bee-themed bookmark. Starting with a square of yellow paper, children can follow the origami steps to fold it into a corner bookmark base. Once the base is formed, additional features like black paper strips for stripes, white paper for wings, and drawn-on eyes and antennae bring the bee to life. This papercraft is perfect for young readers looking to add a personal touch to their books and get them excited about reading.



Leave a Reply