Give your front door a makeover for autumn with this easy, hanging DIY Fall Front Door Basket Wreath.
With a few simple materials and supplies, you can create a fall door decoration that is both affordable and easy. The best part about this project? It only takes 5 minutes from start to finish and costs under $10 to make! All you need is a basket, some fall florals, and a bow.
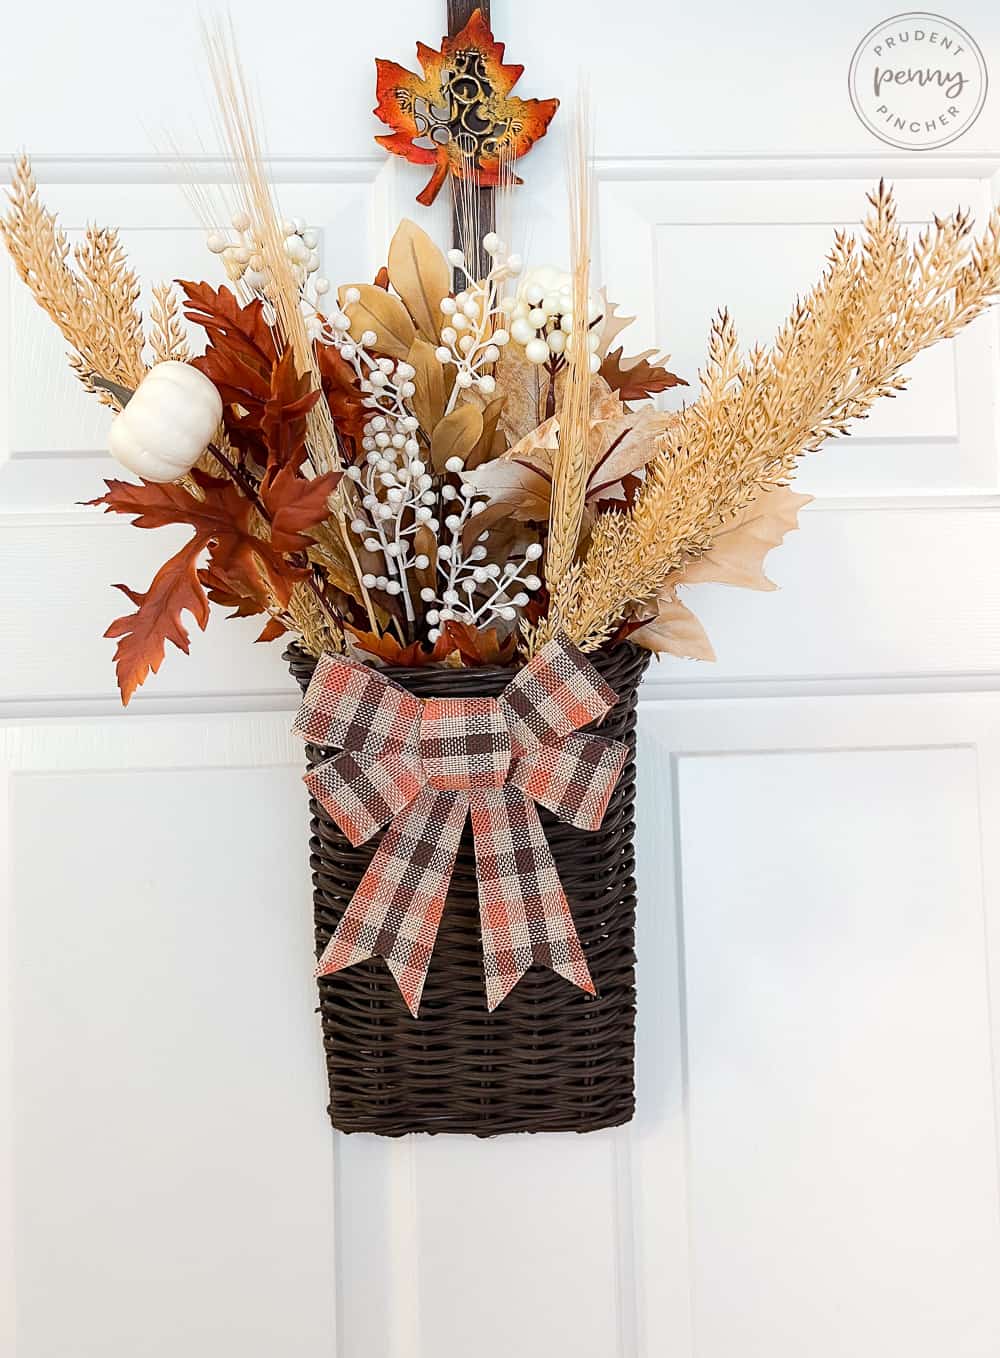
The basket came from Goodwill and cost $1.98. Thrift stores have tons of these baskets, so if you want to save money, it’s the perfect place to find one for cheap. Unfortunately, the color of the basket was faded, and it needed to be touched up. I used Rust-Oleum Satin on it, which is an espresso color. However, you can paint it any color you want. Just make sure the spray paint that you use is safe for wicker though! It would also be helpful to consider what will go best with your door color and other outdoor fall decorations to avoid clashing.
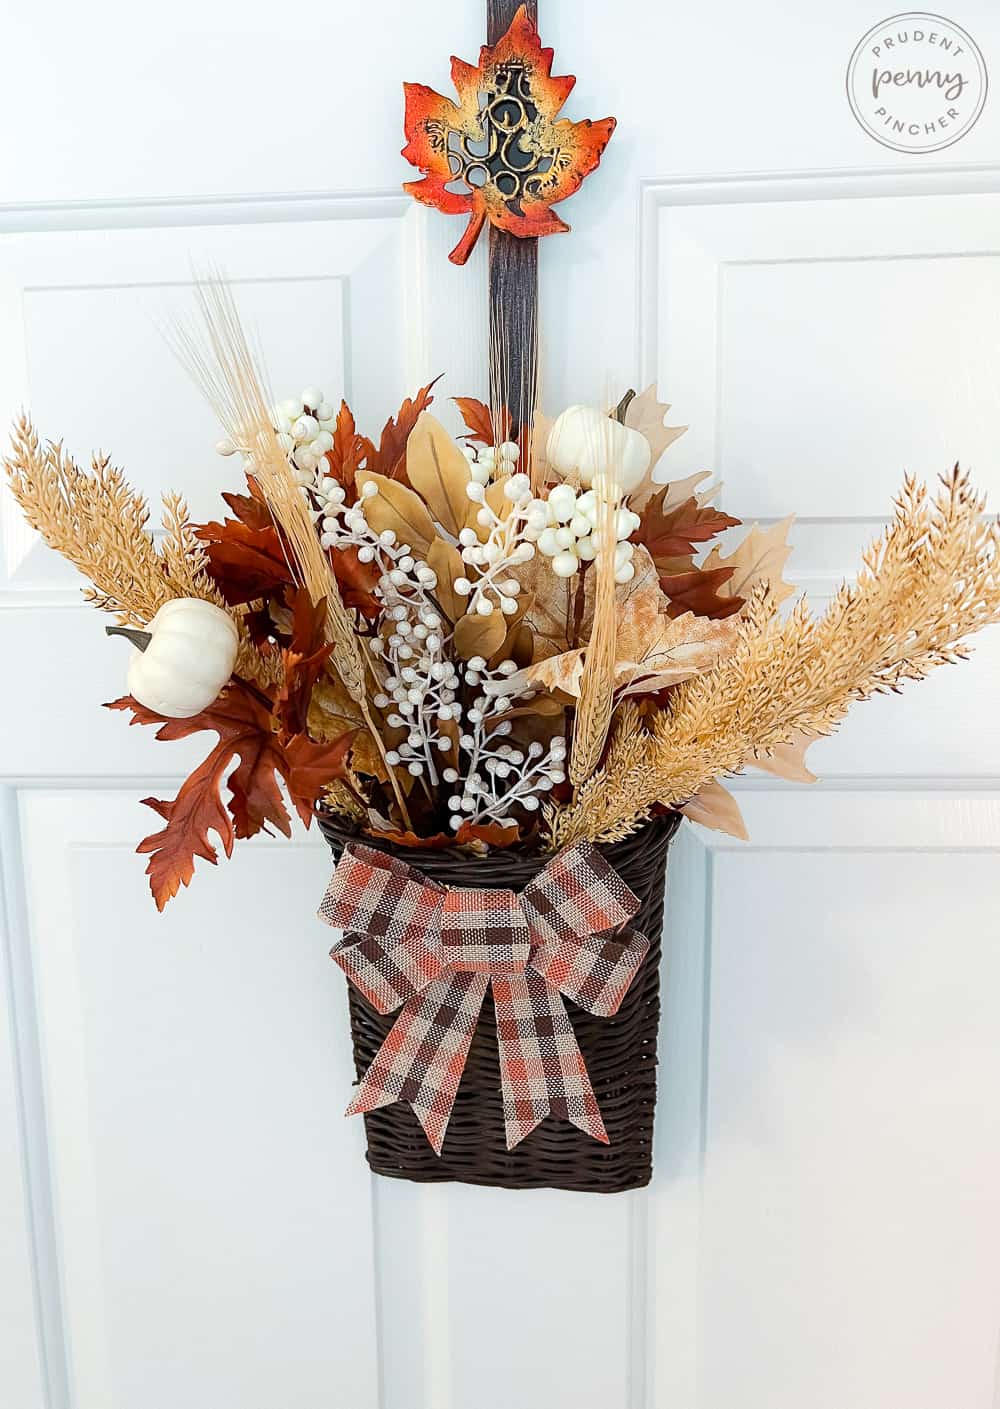
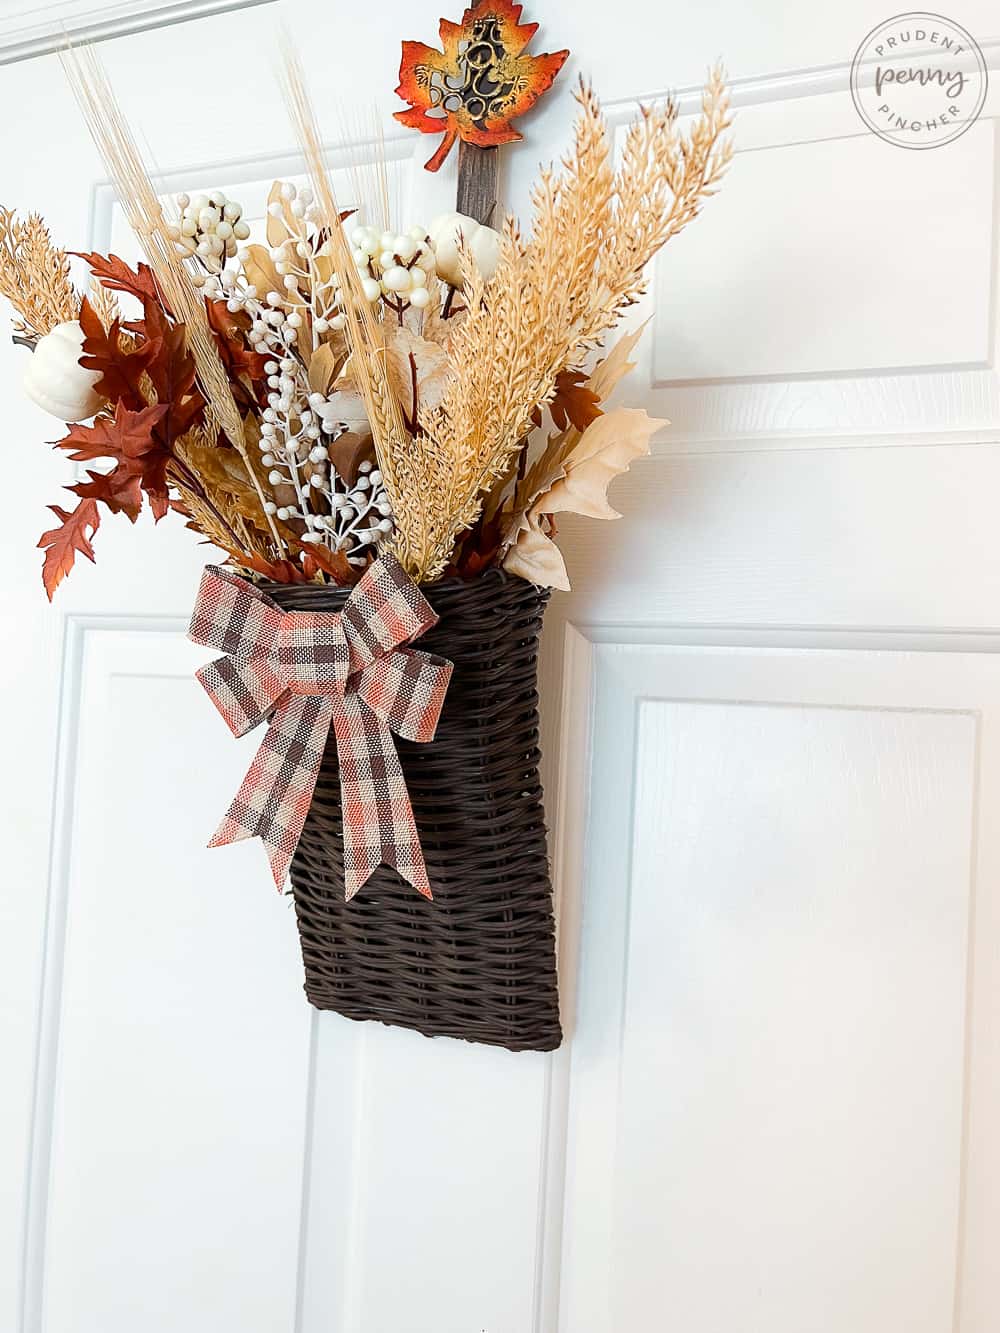
My faux florals were stuff that I already had on hand from previous projects. They came from a combination of Michaels, Dollar Tree, and Hobby Lobby. Be sure to shop Michaels and Hobby Lobby’s 50% off florals sale, which happen fairly often! The cost of the fall foliage and flowers were the bulk of the cost of this project but still under $10. My door hanger had assorted fall leaves, pumpkins, wheat stalks, and fall berries, but gourds, mums, or sunflowers would look great as well.
Front Door Basket Wreath Variations
The great thing about these door baskets is that they are so customizable based on the decor style you want to make them.
I chose a rustic fall decor theme for this front door basket, using browns and tans with burlap. If you wanted a farmhouse style, you could keep the basket a natural wicker color or go with a galvanized bucket instead. Then, add some lamb’s ear, cotton stems, white mums, and neutral-colored pumpkins. It all depends on the look that you are going for.
As for the front of the DIY wreath, I just added a simple dollar store burlap bow, but there’s a lot of room for creativity. You can attach a little chalkboard sign, add a monogram, a small fall garland or banner, or anything else that you want.
If you want to take the project to the next level, add twinkly lights for an extra welcoming and cozy feel!
Another benefit of these wreaths is they can be easily switched out for different seasons. All you need to do is swap out the florals and bow for winter, spring and summer!
Supplies:
- basket
- fall florals
- spray paint (optional)
- ribbon, bow, or other accents for the front of the door hanger
- floral foam (optional)
- wire cutters
- hot glue
- wreath hanger or command hook for hanging
Instructions for this Fall Front Door Basket Wreath:
- Spray paint your basket, if desired.
- Fill with fall florals.
- Attach a bow or sign on the front of the basket.
- Hang it up using a command hook or wreath hanger.
For more detailed (and printable) instructions, please see the how-to card below.
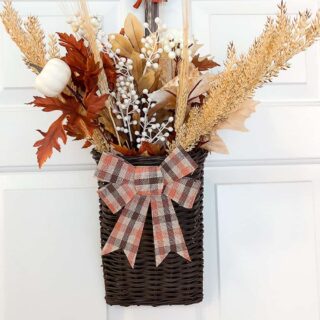
DIY Fall Front Door Basket Wreath
Equipment
- 1 pair of wire cutters
- hot glue gun optional
- 1 pair of scissors
Materials
- 1 basket
- faux fall florals
- spray paint optional
- floral foam optional
- wreath hanger or command hook for hanging
Instructions
- Spray paint your basket, if desired. Let it dry.
- Fill your basket with assorted fall florals, leaves, berries, wheat, etc. I did not need to add floral foam to the bottom of my basket, but depending on how much you are putting in your basket, it may not be needed. My basket is pretty full, so in my case, it was not necessary.
- Attach the bow with some hot glue.
- Hang the basket on a wreath hanger or command.
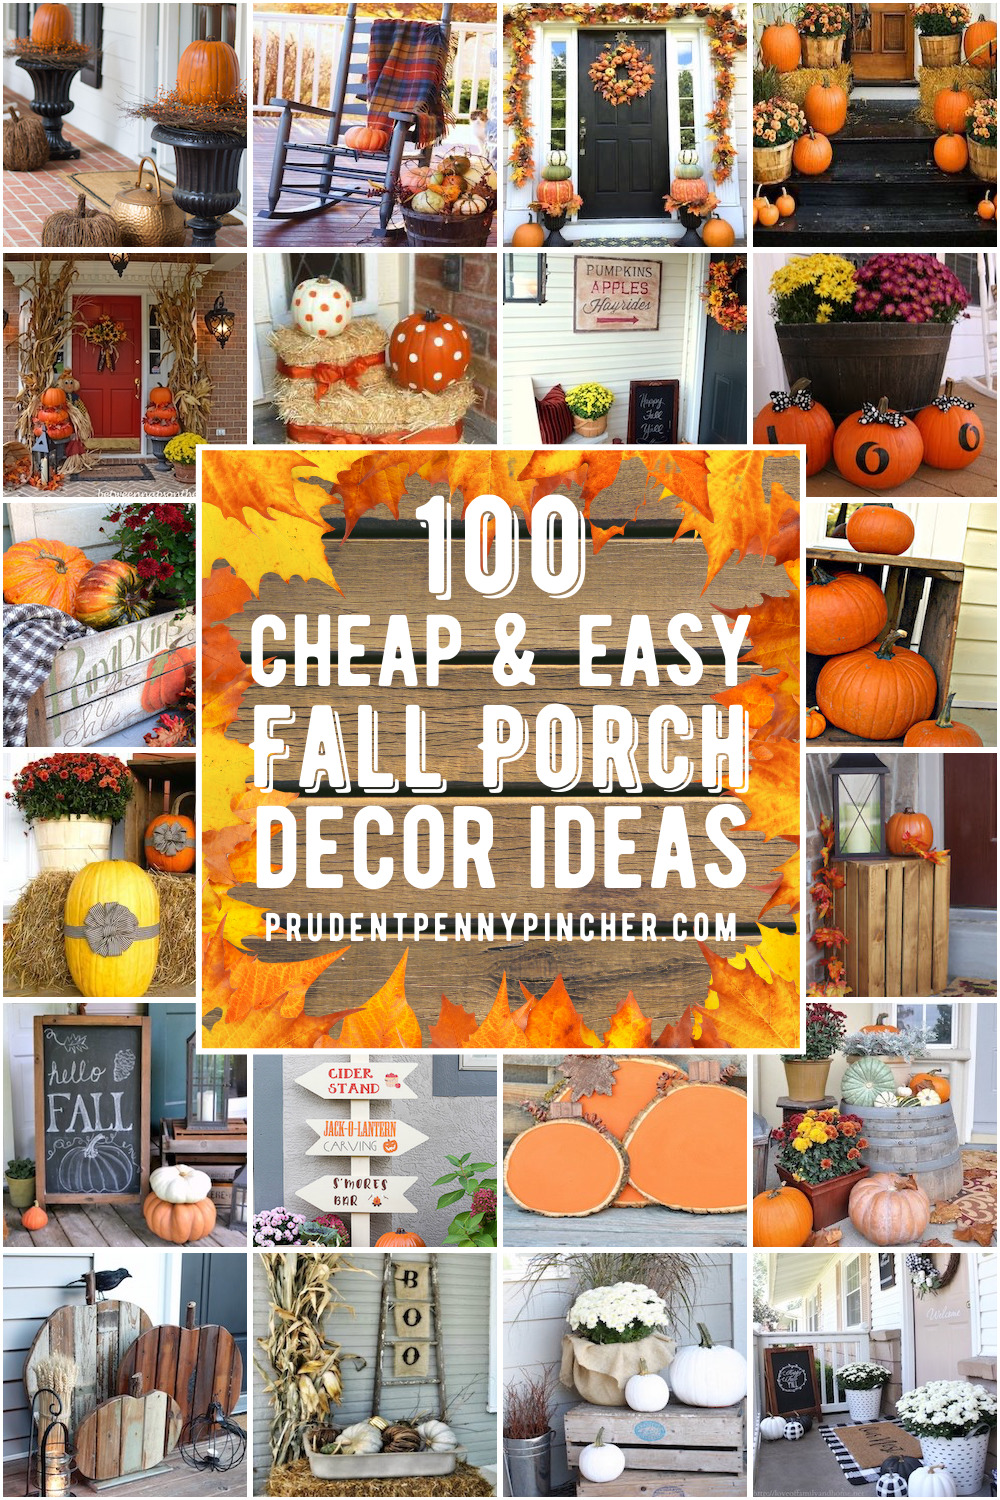 100 Cheap and Easy Fall Porch Decor Ideas






Leave a Reply