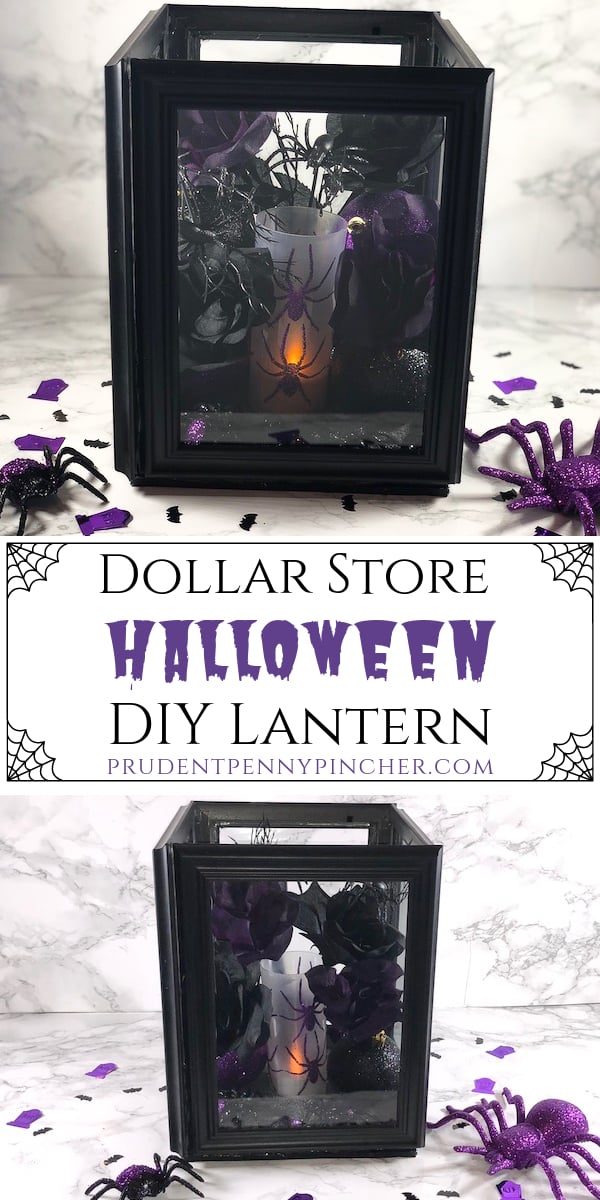
Add a touch of spookiness to your home with this easy Dollar Store DIY Halloween Lantern. This project only takes 15 minutes to make and costs under $10! All of the supplies for this project can be found at Dollar Tree:
Supplies for DIY Halloween Lantern:
- 4 black picture frames
- black foam board
- hot glue gun & 2-3 glue stick
- scissors or craft knife
- pencil or marker
Total Cost: $5
Difficulty Level: Easy
Time: 10 minutes
Instructions for DIY Halloween Lantern:
- Remove the plastic, frame back and picture inserts from the picture frames.
- Pull the tabs back on the frame and remove the glass. If you don’t pull the tabs back they will show through your lantern when it is complete.
- Using a glue gun, glue along the frame where the glass would be and then put the glass back down, pressing down gently.
- Glue the edges of the picture frames together. Be sure to align it evenly. Hold together firmly until each frame dries (about a minute). Be generous with the glue because you want it to hold up well. I also glued the inside edges to make sure it holds.
- Using a pencil or marker, trace the outline of the lantern onto the foam board.
- Cut out the outlined section of the foam board.
- Glue the foam board base to the bottom of the lantern.
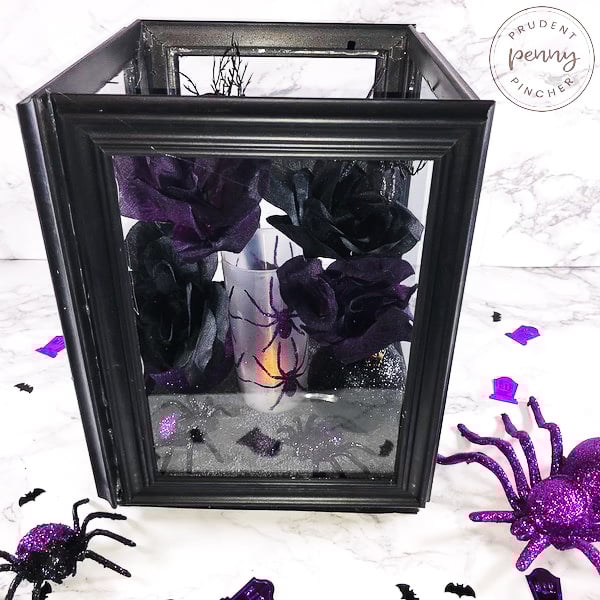
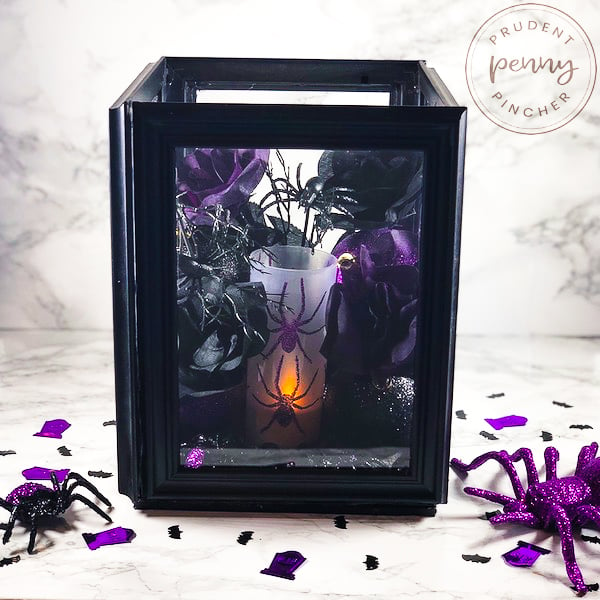
…And now you are ready to fill your lantern with spooky goodies!
For this lantern I used the following items:
- black sand on the bottom of the lantern
- LED spider candle
- Gothic purple and black faux roses
- glitter spiders
- Halloween ornaments
Cost: $5
You don’t have to use what I did. This is where you can get creative with it. Dollar Tree has a variety of halloween lighting options (LED candles, fairy lights, light up skulls, string lights, etc). Plus, they have an assortment of decorations like skeletons, bats, creepy creatures and much more!
 100 Dollar Store Halloween Decorations





Malissa says
I love DIY lanterns. They’re so much fun and an awesome decor piece.