Give your front door a fall farmhouse look on a budget with this Dollar Store DIY Pumpkin Fall Door Hanger.
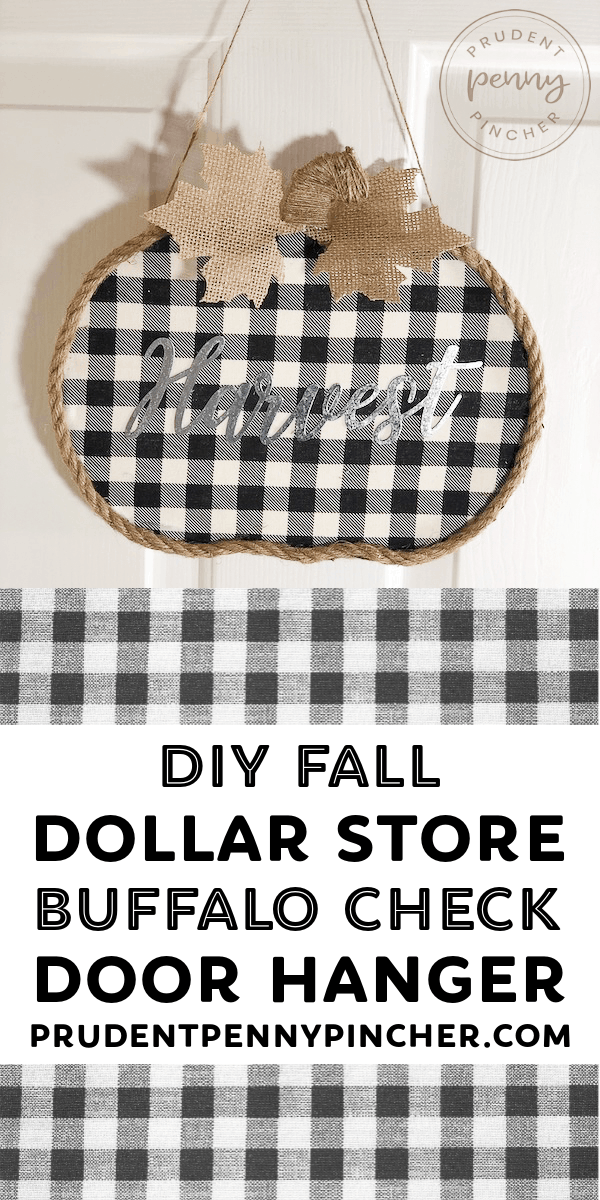
Autumn is knocking at the door, and what better way to welcome it (and your guests) than with a beautiful and budget-friendly door hanger? With the cozy charm of rustic farmhouse style and the trendiness of buffalo check, this quick 5-minute DIY pumpkin craft is ideal for those who love to infuse seasonal vibes into their home but are pressed for time.
This fall front door decor idea only costs $6 in supplies! All the supplies required for this dollar tree fall decor idea are $1.25 or less. So, it’s a cheap and easy DIY project to make that will give your outdoor fall decorations and fall porch decor an autumn makeover on a budget. You can also use it as indoor wall art. It is an excellent alternative to a traditional fall wreath.
If you are a fan of neutral buffalo check fall decor instead of the traditional orange fall colors, then you will love this project! It has a farmhouse fall decor style that will give your home a warm country touch. It would also be great for a DIY Thanksgiving decoration too. You can swap out the metal sign for the “Thankful” or “Blessed” one, which comes in the same pack at the dollar store.
This craft project is as easy as it is elegant. Grab your supplies and a spare five minutes, and let’s get crafting!
Jump to:
Supplies for Dollar Store Pumpkin Fall Door Hanger:
- pumpkin wood door hanger
- buffalo check fabric bandana ($1.29 at Micheals with 50% off coupon) OR buffalo check scrapbook paper (4 for $1 at Hobby Lobby)
- If you plan on using this outside, then you may find that the fabric will hold up better against the elements than the paper will.
- rope
- burlap fall leaves
- twine
- metal sign (you can also use stencils or vinyl decals in place of this)
- ribbon or bow (optional)
You can get everything but the fabric or paper at Dollar Tree.
Total Cost: $6
Difficulty: Easy
Time: 5-8 minutes
Crafting Equipment and Materials
- hot glue gun and one gluestick
- pencil/pen
- scissors
- Mod Podge
- foam brush
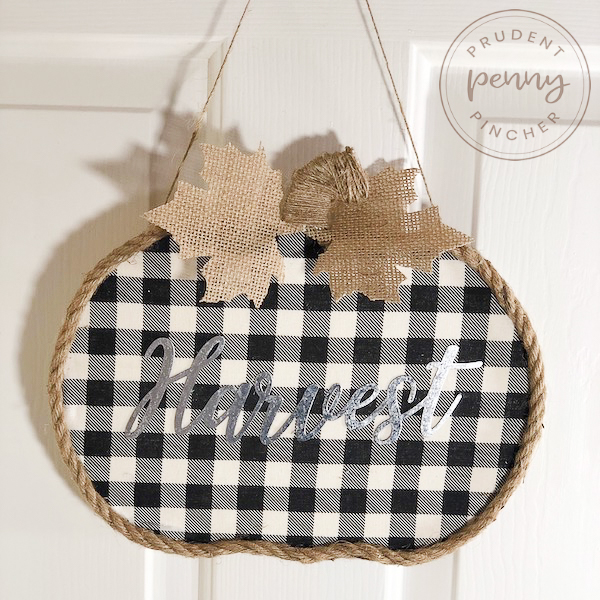
Tutorial for This DIY Dollar Store Pumpkin Fall Door Hanger
- Trace the pumpkin pattern onto the back of the bandana and cut out the shape
- Brush Mod Podge onto the wooden pumpkin and put the cut-out bandana shape over the top, making sure to line it up evenly as you can with the pumpkin shape.
- Glue the rope around the edge of the pumpkin.
- Wrap twine around the stem and dab hot glue on each end.
- Glue burlap leaves to the sides of the stem.
- Hot glue the harvest sign in the center of the pumpkin.
- Attach each end of a piece of twine to the back of the pumpkin fall door hanger on either side for hanging.
More Dollar Store Pumpkin Crafts
More Fall Decor Ideas
If you tried this DIY home decor idea or any other DIY project on my website, please leave a 📝 comment below and let me know how it went!
Follow me on Pinterest, Facebook, Flipboard, or Instagram for more inspiration on crafts, DIY, free printables, and recipes!
DIY Dollar Store Pumpkin Fall Door Hanger
Equipment
- 1 pair of scissors
- Mod Podge
- foam brush
- pencil/pen
- hot glue gun and one glue stick
Materials
- 1 pumpkin wood door hanger
- 1 buffalo check bandana or scrapbook paper depending if you want to use fabric or paper
- rope
- 2 burlap fall leaves
- twine
- fall metal sign
Instructions
- Trace the pumpkin pattern onto the back of the bandana and cut out the shape.
- Brush Mod Podge onto the wood pumpkin and put the cut-out bandana shape over the top, making sure to line it up evenly as you can with the pumpkin shape.
- Glue a rope around the edge of the pumpkin using your hot glue gun.
- Wrap twine around the stem and dab hot glue on each end.
- Glue burlap leaves to the sides of the stem with your glue gun.
- Hot glue the harvest sign in the center of the pumpkin.
- Glue each end of a piece of twine to the back of the pumpkin fall door hanger on either side for hanging.







Charlotte A Biernacki says
Love easy and cheap supplies. The decor tho has to look Amazing!! Job well done.
Love your site.