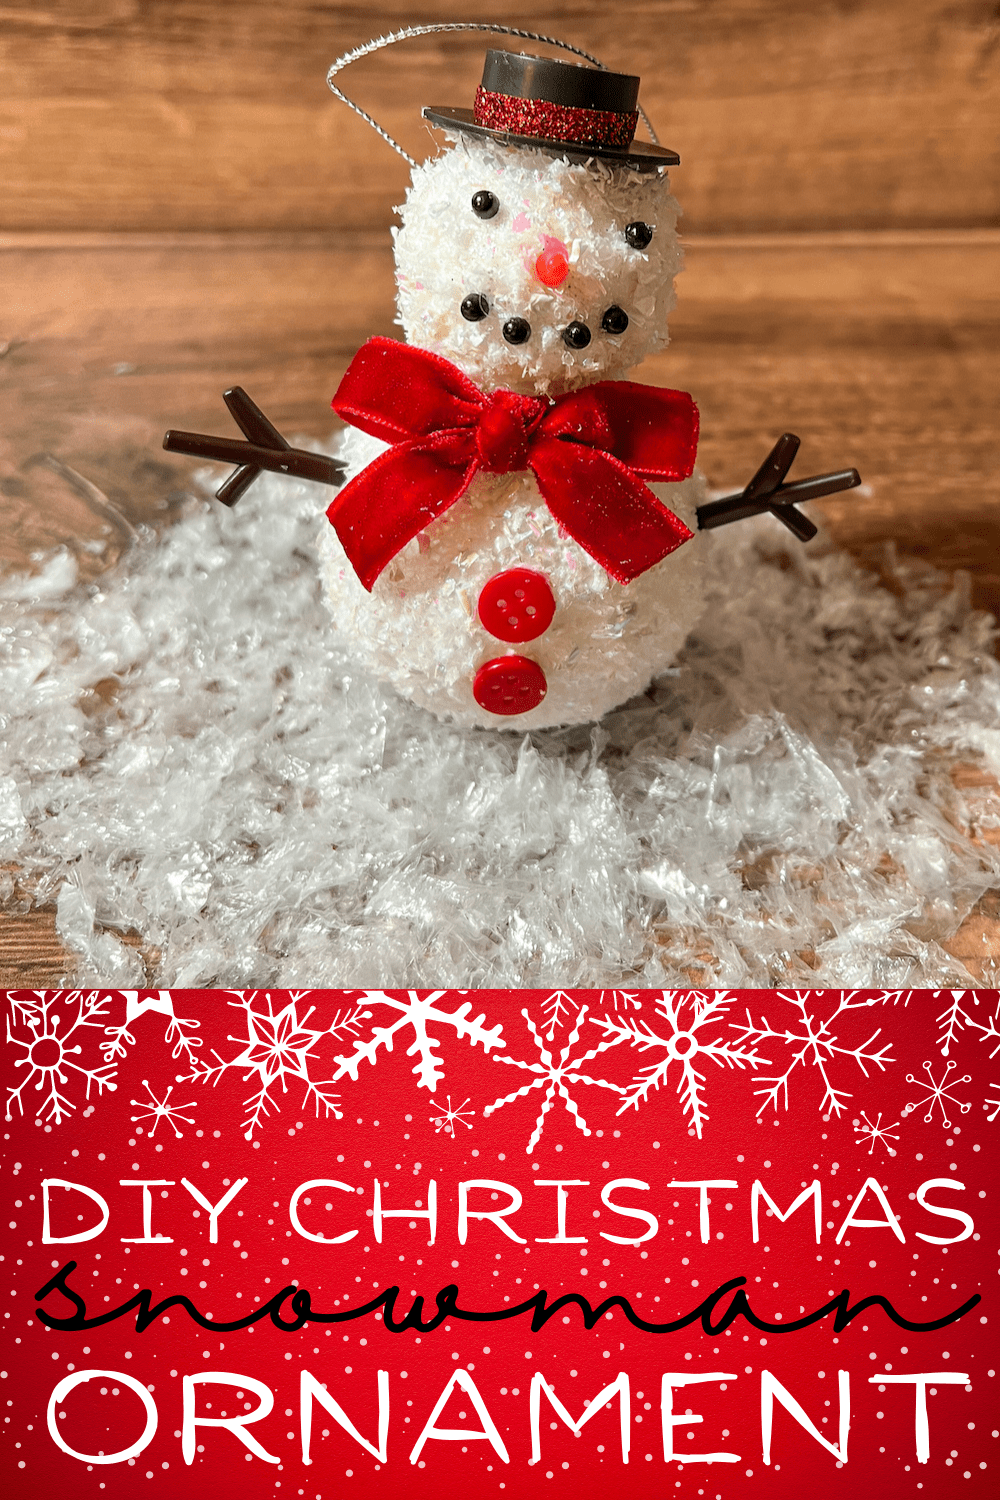
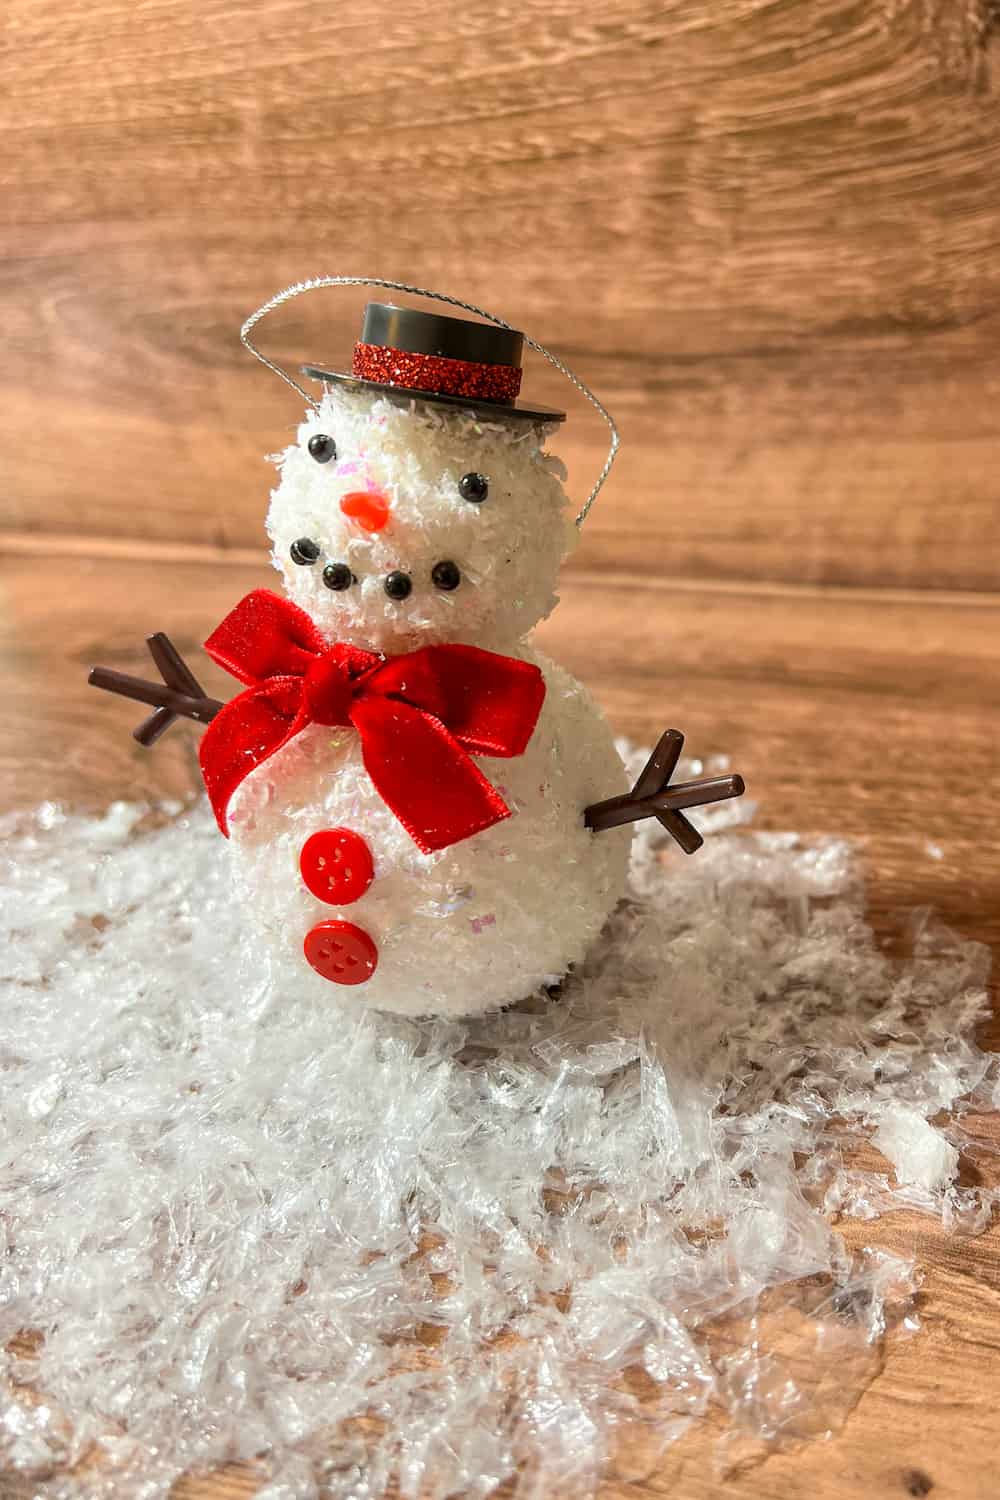
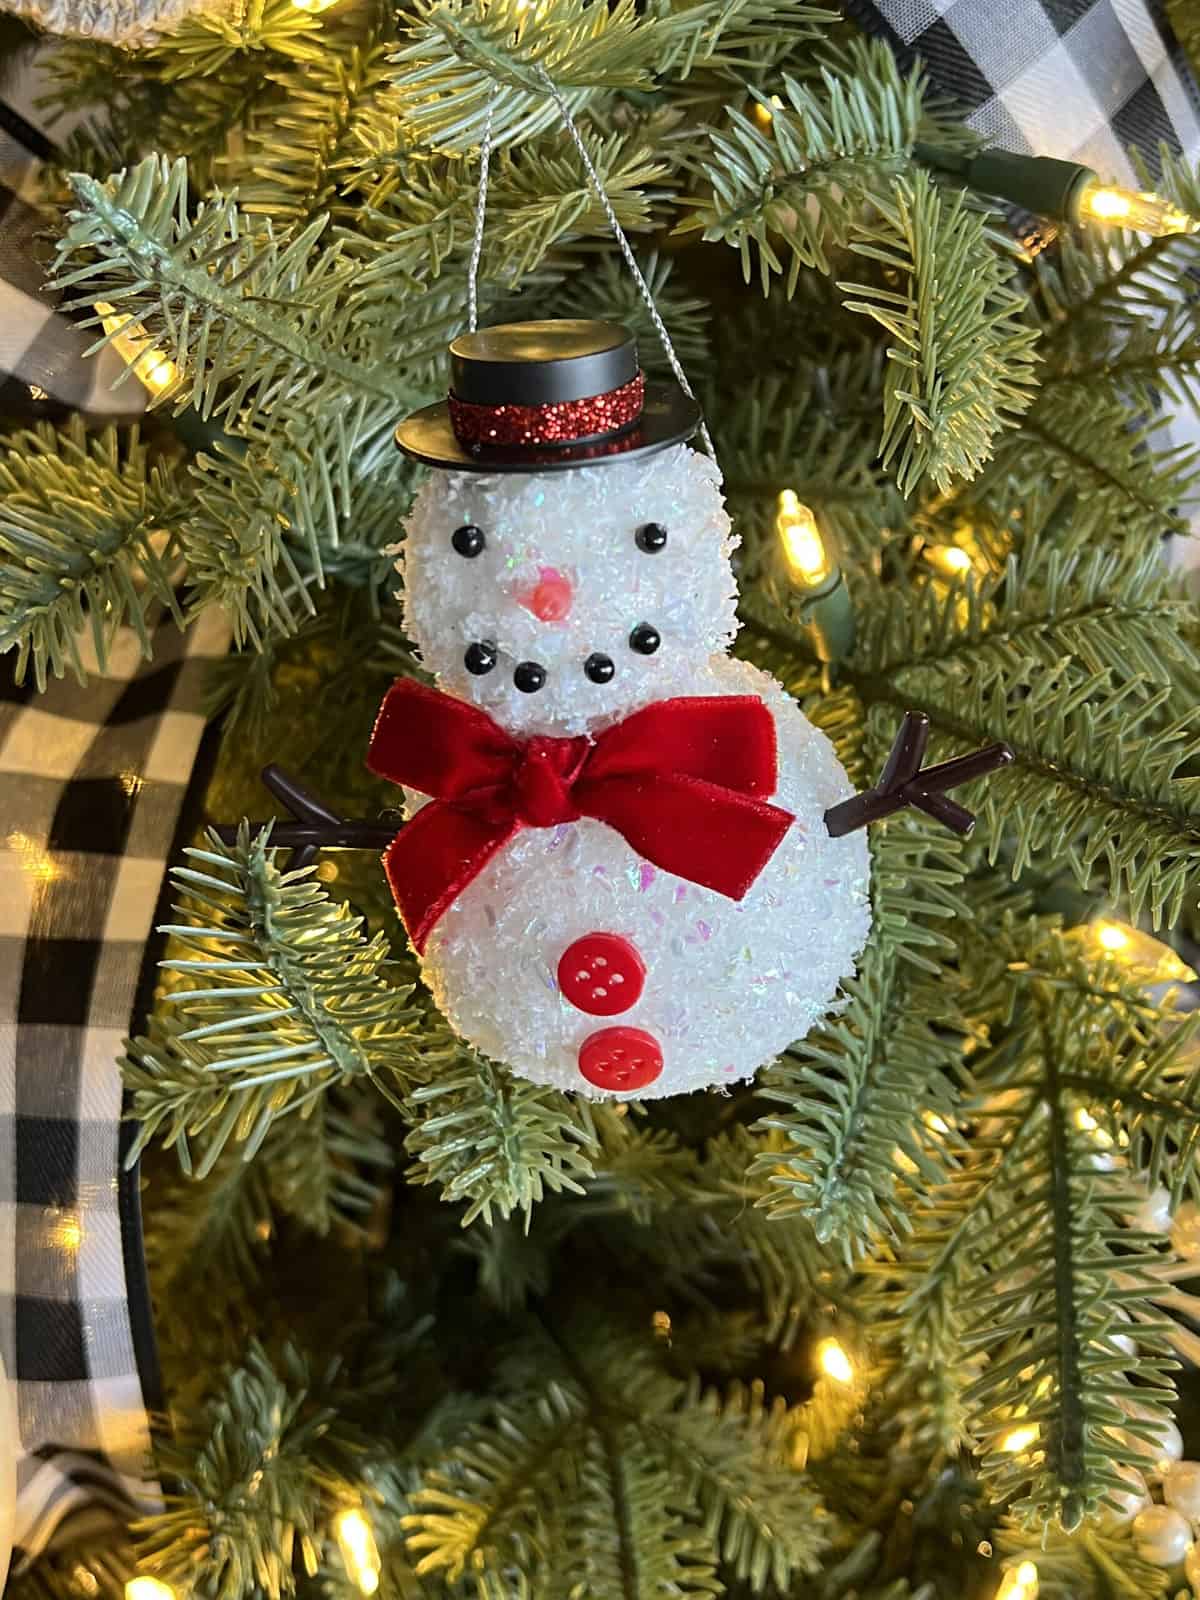
Make this cute DIY snowman ornament to give your christmas tree a personalized touch. This DIY ornament makes a fun christmas craft for adults and to do with kids.
I personally love making my own christmas ornaments. I think makes the christmas tree feel more homey with a homemade touch like that. Get everyone in the family to make an ornament of their choosing so that everyone has their own unique ornaments on the christmas tree!
Another bonus for DIY christmas ornaments is that it can be cheaper than buying ornaments from a store, especially if you already have most of the supplies (as is the case for this project). Everything but the snowman’s features came from Dollar Tree, so this is a really inexpensive christmas ornament to make.
The snowman’s features can be made with basic craft supplies. I got some of the snowman’s features (the hat and arms) from an Amazon snowman craft kit, but you can easily DIY that part of the craft project. See below for tons of ideas.
Cost: $4
Difficulty Level: Easy
Time: 10 minutes (active time, not counting time it takes Mod Podge to dry)
DIY Snowman Ornament Supplies:
- foam balls
- fake snow
- Mod Podge
- ribbon
- buttons
- straight pins with large heads
- Snowman craft kit (OPTIONAL – See below for other ideas)
Instructions for DIY Snowman Ornament:
- Coat your foam balls in Mod Podge using a foam brush and roll around in fake snow. Let it dry.
- Attach the foam balls together.
- Add the snowman’s features and accessories.
- Glue on ribbon or twine for hanging.
For detailed directions see the how-to card below.
Snowman Accessories:
You have a lot of room for improvising when it comes to how your snowman looks. You can use whatever you have on hand. Here are some ideas for your snowman ornament:
Top hat: mini plastic hat, substitute it for ear mitts (pipe cleaner with pom poms on the end), sock or other fabric to make a beanie hat, yarn hat, recycled k cup snowman hat
Scarf: fabric strip, ribbon, felt
Nose: small felt triangle, mini cone foam painted orange, wood chip triangle, straight pin with orange head, rolling up some orange paper to make a cone, orange painted skewer with pointy end
Arms: twigs, mini plastic ones, felt arms glued to a toothpick so you can insert it, brown pipe cleaners
Eyes and mouth: small buttons, straight pins with colored heads, sharpie, black paint, small felt circles, Cricut vinyl or stickers, jewels
How to hang your DIY snowman ornament
You can hang your ornament with twine, decorative ribbon, floral wire, string cord or anything that is strong enough to hold up your snowman. I hot glued my cord down on either side behind the snowman.

DIY Snowman Ornament
Equipment
- hot glue gun
- scissors
- foam brush
Materials
- 2 foam balls (one small and one medium sized) white
- 1 bag fake snow
- Mod Podge
- 1 piece ribbon
- buttons
- snowman accesssories for face and body
- string or twine for hanging
Instructions
- Coat the foam balls in Mod Podge and roll in some fake snow. You may want to put down some newspaper on your work area because it can get a little messy. Check for bald spots and make sure to cover them entirely in snow. Let it dry. You can use some spray adhesive to make sure no snow falls off too.
- With the smaller foam ball on top, glue the foam balls together using your glue gun. (OPTIONAL - To make it extra secure, you can add a toothpick half way in the bottom foam ball and push down the top foam ball the rest of the way and THEN add a some glue around the edges where the two foam balls meet.)
- Add the snowman's facial features and accessories. The instructions will vary depending on what you are using. I glued on the ribbon, hat and buttons but pushed in everything else.
- Glue twine or cord in the back of the snow man for hanging
 200 DIY Christmas Ornaments
 120 Clear Glass DIY Christmas Ornaments




Leave a Reply