Create a spooktacular Halloween village! These display ideas will make your spooky town the centerpiece of your DIY Halloween decor.
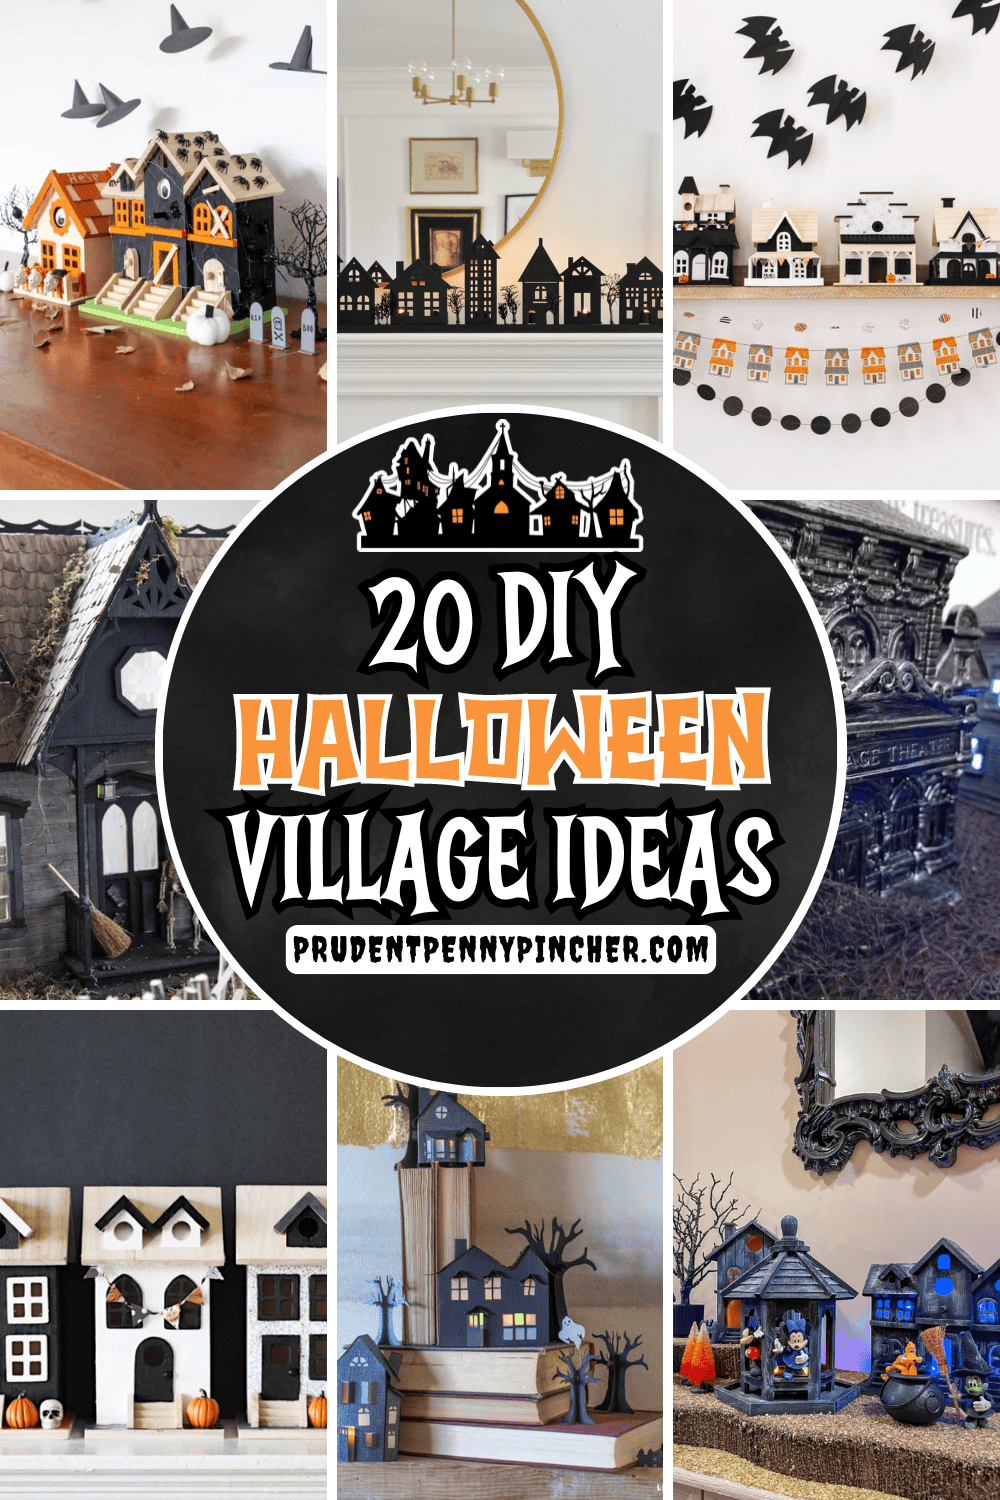
These Halloween crafts are a fun and creative way to bring the spooky spirit into your home this season. From DIY haunted houses and ghostly graveyards to creepy trees and eerie figurines, these village ideas let you unleash your creativity and craft a mini-world.
Whether you display your village on a Halloween mantel, shelf, or tabletop centerpiece, these spooky scenes will become the highlight of your Halloween décor. With these ideas, you can transform any space into a haunted masterpiece that will wow your guests and delight trick-or-treaters.
Each of these DIY projects comes with detailed tutorials that include ideas for elements like lighting and backdrops. Whether you prefer a classic black-and-orange theme or want to experiment with pops of neon and glitter, these ideas will help you build a truly one-of-a-kind village.
Many of these projects use basic craft materials and dollar store supplies, making it easy to create a stunning display without breaking the bank.
So, grab your paint and wooden houses, and get ready for some creative ideas to help you get started building a haunted town of your own!
Jump to:
- Halloween Village Ideas
- DIY Halloween Display
- Wooden Village Set
- Christmas Village Transformation
- Twisted Tree Tutorial
- Build a Mini Haunted House
- DIY Minimalist Village
- Spooky Disney Village
- DIY Haunted House
- DIY Dollar Store Craft
- Popsicle Stick Tombstones and Cemetery
- DIY Multi-Level Village
- Glow in the Dark Village
- Spooky Village from Christmas Villages
- Halloween Village for Kids
- DIY Birdhouse Village
- 3D Paper Haunted Village
- Spooky Village DIY (With Printables!)
- Light Up Haunted House
- Paper Houses
- More Halloween Decor Ideas
Halloween Village Ideas
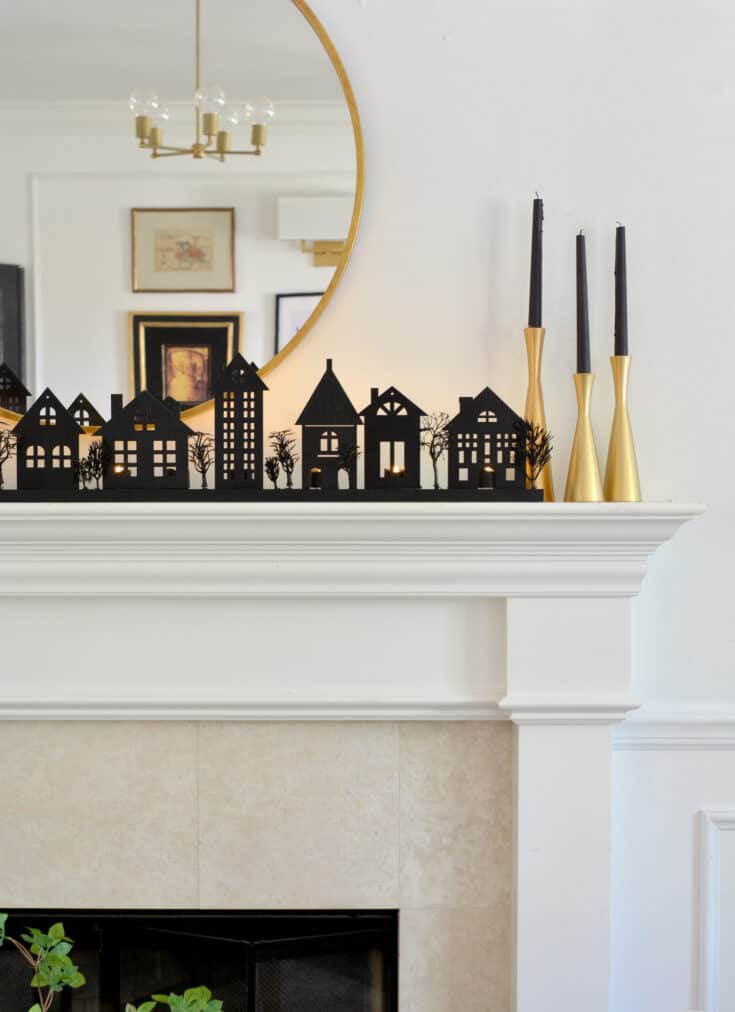
This is a quick and creative project that transforms a simple wooden village into a spooky mantel display. The town is spray-painted black and illuminated with LED tea lights, creating an eerie yet elegant scene. The project involves assembling wooden houses on a base, adding trees, and using chopsticks for support.
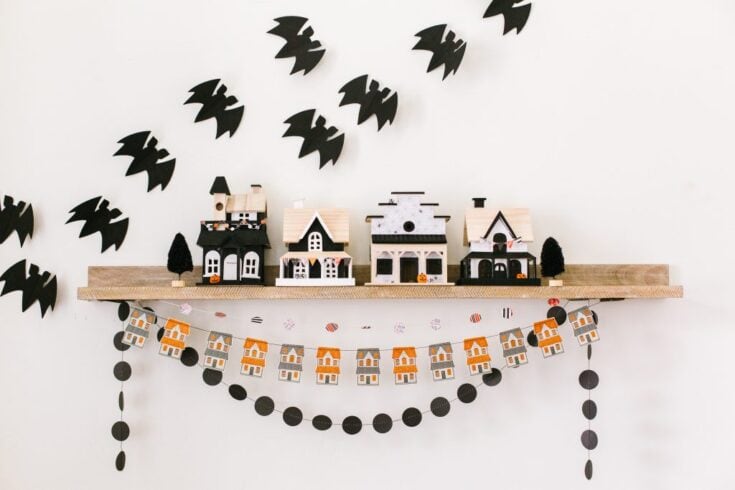
This whimsical and customizable project transforms plain wooden houses into a spooky yet cute display. Using acrylic paints, Halloween-themed scrapbook paper, and Mod Podge, this Halloween craft for adults allows you to create a town that's both modern and festive. The tutorial encourages creativity with embellishments like miniature pumpkins and banners, making each house unique.
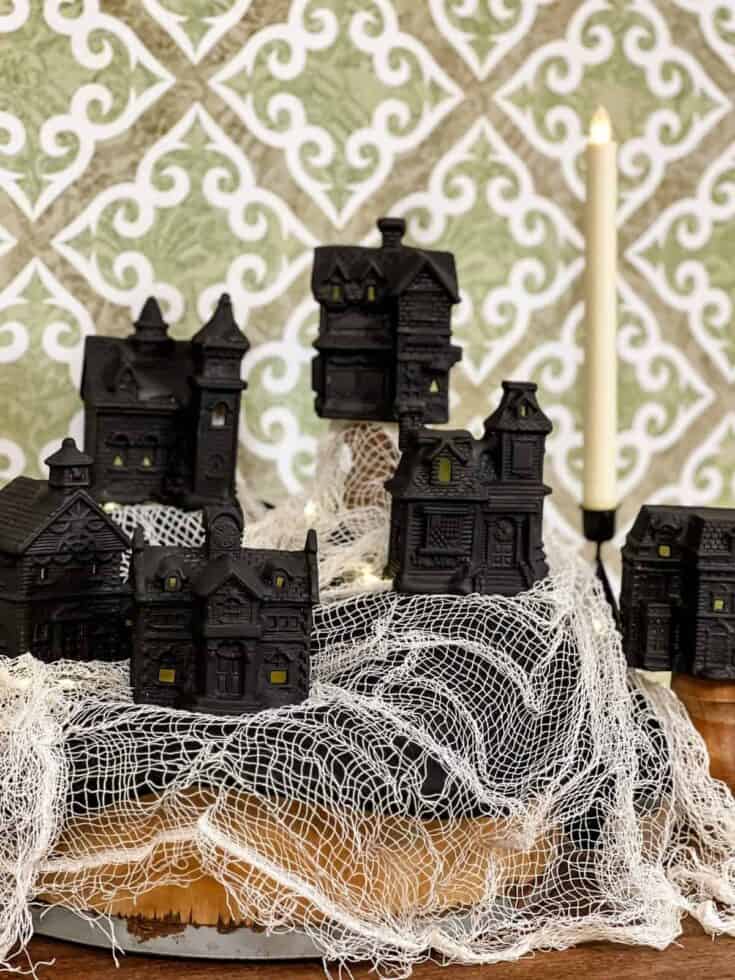
This DIY project is an affordable and creative way to transform ceramic Christmas village buildings into a spooky Halloween display. By painting the buildings matte black with chalk paint, you can easily turn holiday scenes into eerie haunted houses. This simple makeover can be enhanced with creepy cloth, lights, and additional details to create a hauntingly delightful display. The project is straightforward and perfect for anyone looking to add a personalized touch to DIY Halloween decor.
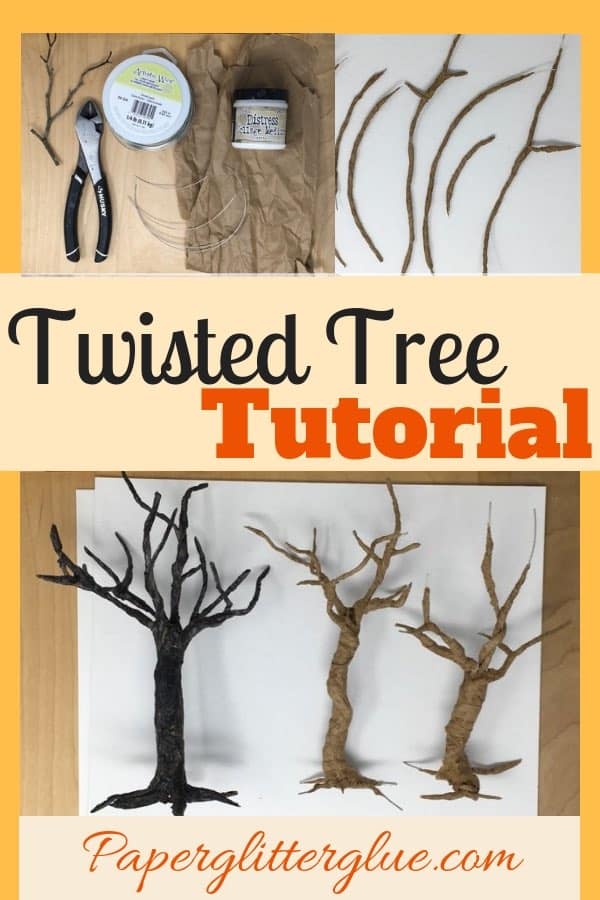
This is a great guide for creating spooky, miniature twisted trees perfect for villages and displays. The tutorial uses simple materials like wire and brown packing paper, combined with glue and paint, to sculpt eerie, twisted trees with intricate branches and roots. The result is a hauntingly realistic tree that adds depth and dimension to any Halloween craft scene.
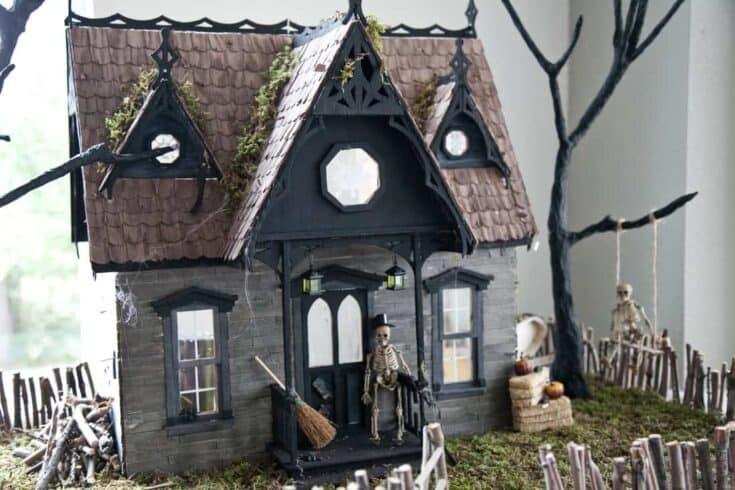
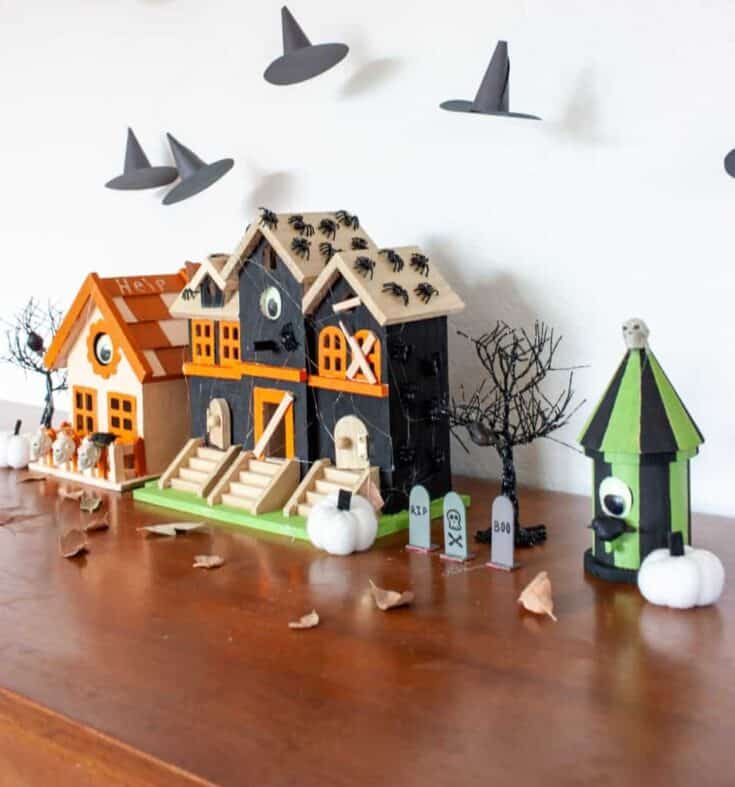
This detailed tutorial transforms a basic dollhouse into a spooky centerpiece. The project involves using popsicle sticks for siding, mixing acrylic paints for a weathered look, and adding eerie details like moss, skeletons, and handmade trees. You can add personal touches like tombstones, lanterns, and even tiny swings to bring your haunted scene to life.
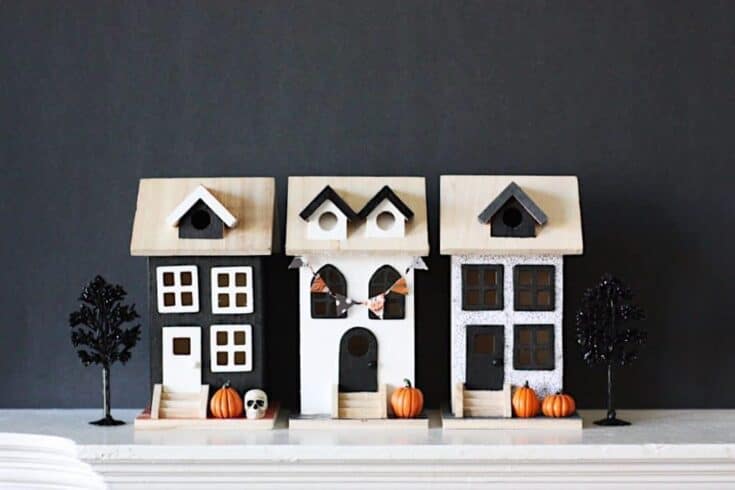
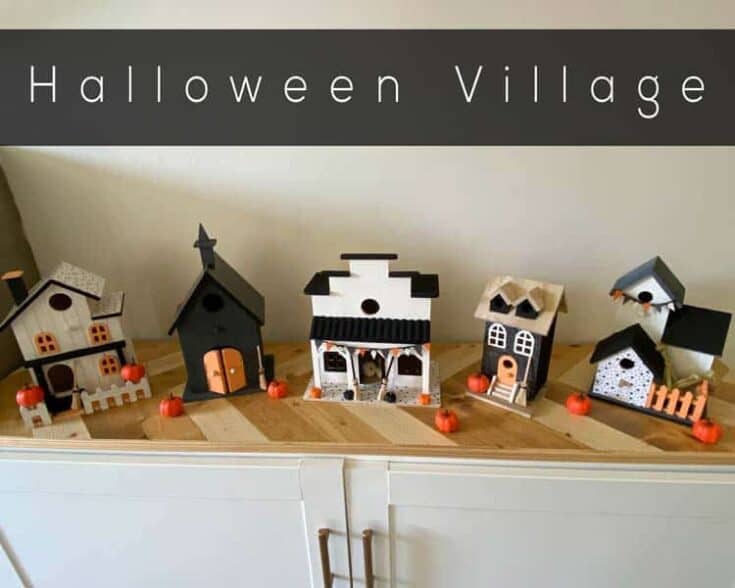
This is a minimalist, spooky project that uses unfinished wood houses, black and white paint, and patterned paper to create cute Halloween villages. The tutorial emphasizes creativity, so feel free to mix and match paint and paper designs and add tiny embellishments of your choosing, like miniature skulls, pumpkins, and black bottle brush trees. The result is a stylish and understated piece of Halloween décor.
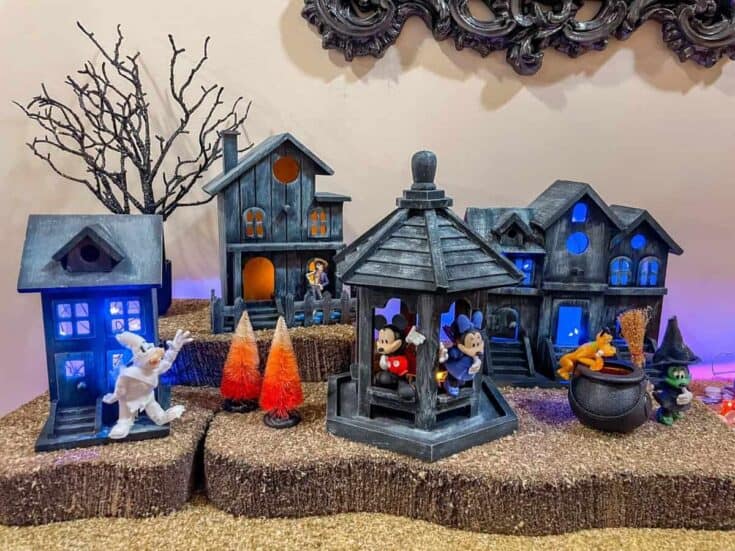
This one is inspired by the viral Disney Village from Costco but with a homemade twist. Using wooden birdhouses from Michael's, she created a spooky yet kid-friendly display, complete with custom-painted character figurines like Mickey and Minnie dressed in Halloween costumes. The village was arranged on different levels to give the scene more depth, and lights were added. It also incorporates fun details like a pirate ship and glowing trees. This project is a creative and budget-friendly way to bring some Disney magic to your home.
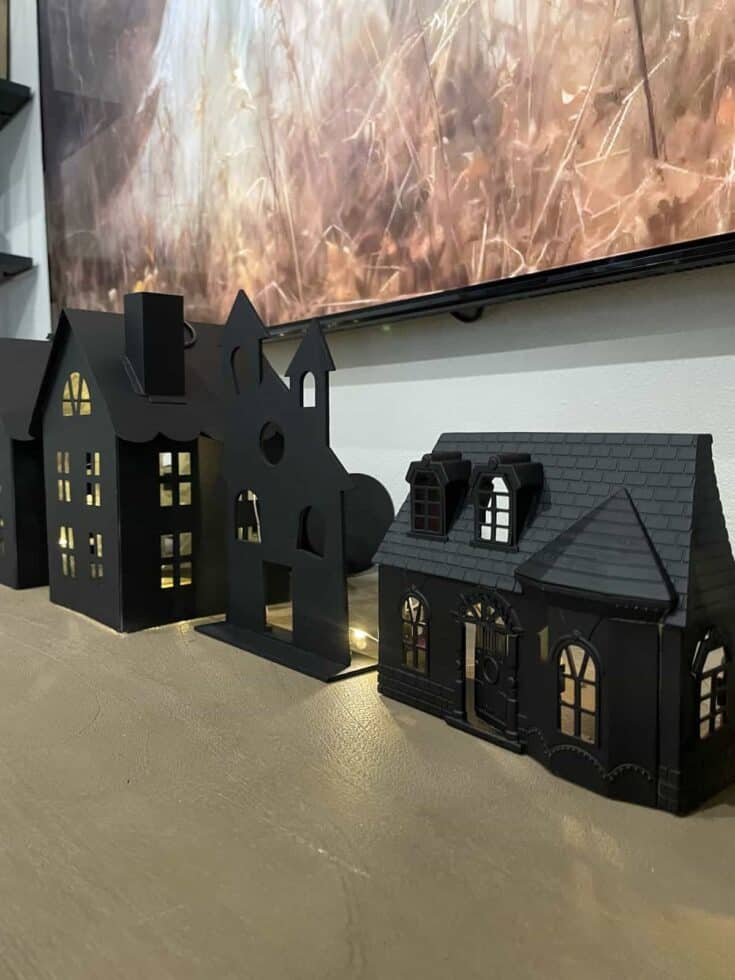
This is an easy and affordable project that uses Dollar Tree supplies to create a chic Halloween display. The tutorial shows how to transform simple wood cut-out houses and galvanized houses with flat black spray paint, adding fairy lights to create a spooky yet cozy ambiance. It's a budget-friendly way to bring Halloween spirit into your home.
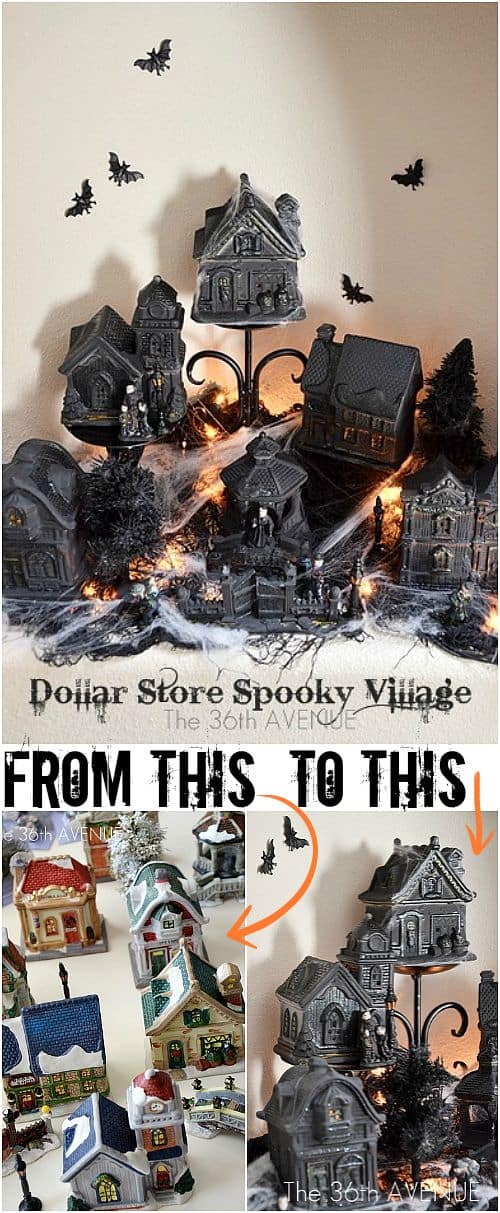
This budget-friendly project transforms inexpensive Dollar Store Christmas village pieces into a spooky scene. By using black spray paint and adding highlights with glitter gloss enamels, the tutorial turns these ordinary figurines and houses into haunted displays. The project also includes tips for arranging the display with different levels, spider webs, and lights to create a spooky decoration that looks impressive without breaking the bank.
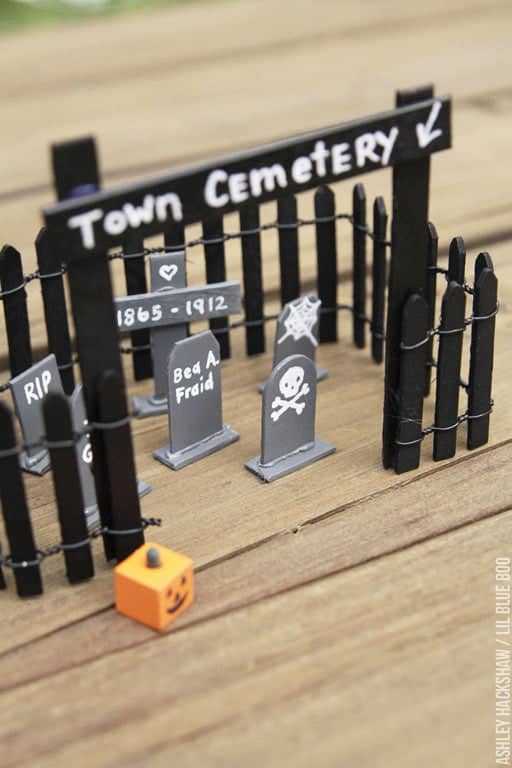
With this project, you can make a miniature cemetery using popsicle sticks. The tutorial guides you through crafting tombstones and a spooky fence, perfect for adding a haunted touch to a fairy garden or Halloween display. The process involves cutting and painting the sticks to resemble weathered tombstones, adding humor with engraved epitaphs, and assembling the pieces into a mini graveyard scene.
This is an intricate project that transforms a simple table into a multi-level display. Using insulation boards, various ground covers, and creative landscaping, this tutorial guides you through constructing a haunting scene. The project involves positioning miniature houses, creating pathways, and adding detailed elements like trees, fences, and tiny decorations to bring the town to life. The result is a spooktacular, custom Halloween centerpiece for the living room or entryway.
This creative craft turns wooden birdhouses into a spooky, glow-in-the-dark display. Using glow-in-the-dark paint, popsicle sticks for tombstones, and tiny skeletons, this tutorial walks you through creating an eerie display that is perfect for day or night. The project is highly customizable, so you can add personal touches like spider webs and floating witch hats.
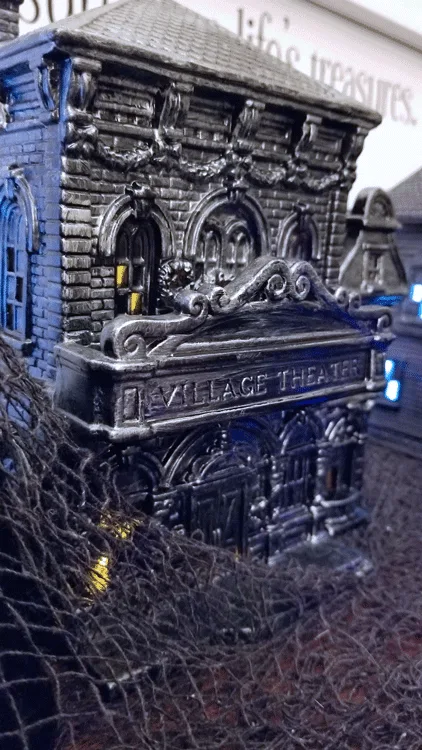
Transform old Christmas villages into a spooky set with this project. By using black spray paint and dry brushing with metallic paints, you can give the village pieces an eerie, haunted look. The project is easy, affordable, and perfect for upcycling old holiday décor. The addition of colored lights and spooky netting creates a hauntingly elegant display.
This is a fun and engaging project that invites kids and parents to create a village together. Using basic materials like paint, wooden houses, and Halloween-themed embellishments, this craft project encourages creativity and collaboration. The result is a unique and personalized display that serves as a spooky decoration and a fun Halloween activity for families.
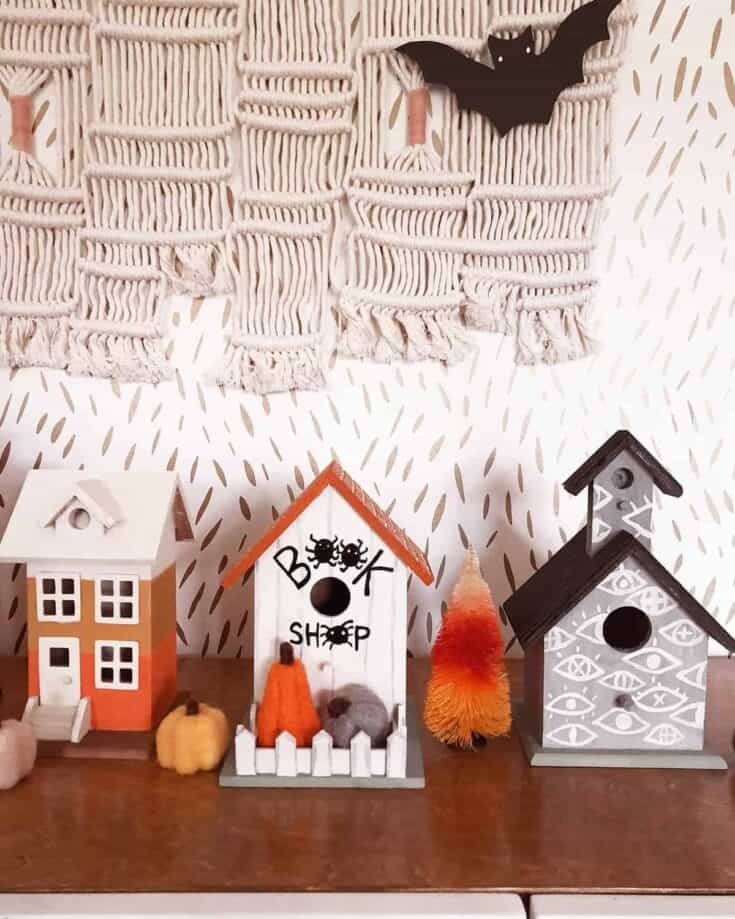
This tutorial shows you how to create a DIY village using inexpensive birdhouses. The project involves painting the birdhouses in traditional Halloween colors and decorating them with patterned paper and miniature accessories like pumpkins, brooms, and skeletons. You can also add tiny banners and lights to enhance the village’s spooky vibe.
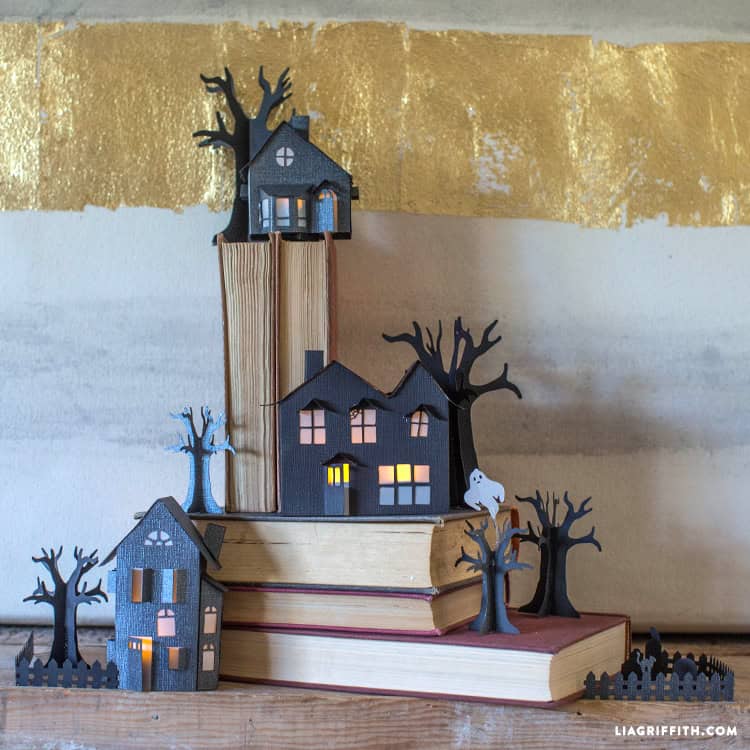
This is a craft that transforms paper into a spooky village, complete with haunted houses, trees, and fences. Using downloadable SVG or PDF templates, you can easily cut and assemble these paper structures. You can also add vellum windows and LED lights to create an eerie glow, making this project perfect for decorating mantels or creating a Halloween-themed display. It's a great craft project for both beginners and experienced crafters.
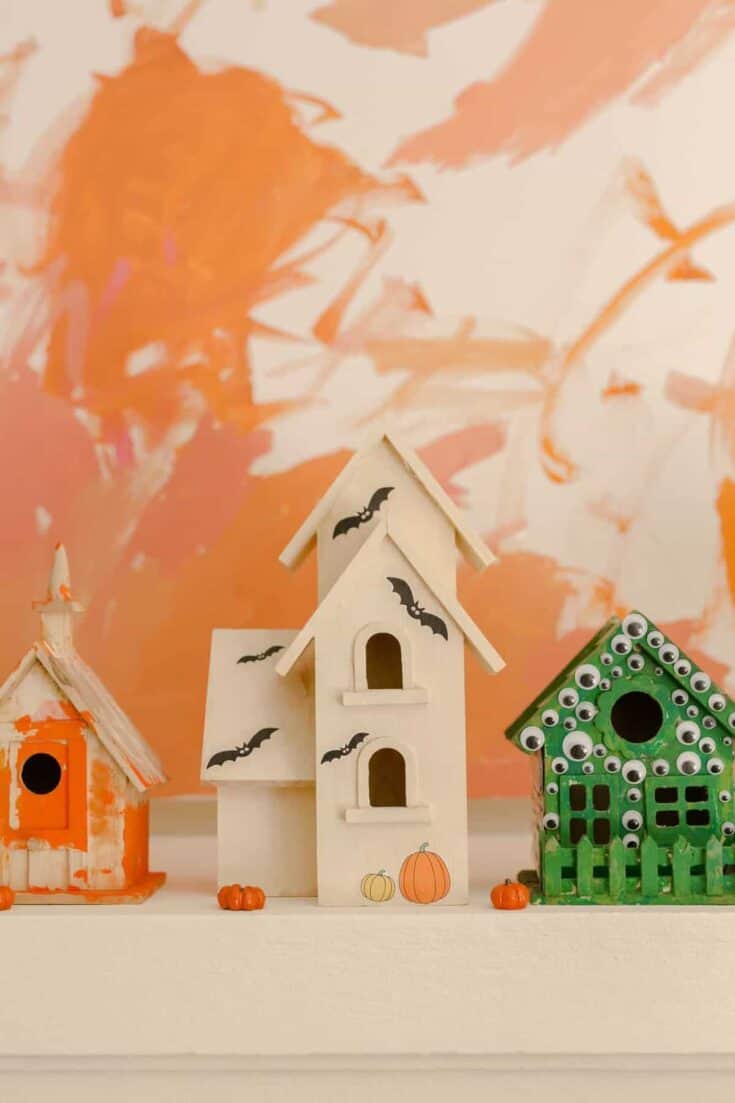
This is perfect for both kids and adults who love Halloween crafting. It uses wooden birdhouses, acrylic paint, and printable decorations to create a cute collection of haunted houses. The project is easy to customize, allowing you to mix detailed, adult-crafted houses with kid-friendly designs.
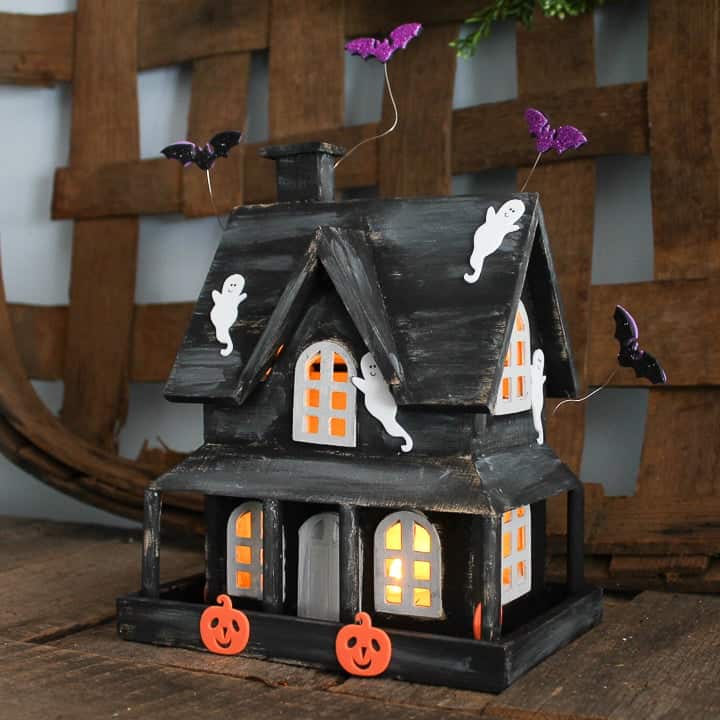
This is a quick and fun project perfect for adding some spooky charm to your home. The tutorial guides you through creating a distressed, rustic look using black and grey paint and then adding foam stickers and craft wire for extra details like flying bats. The house lights up with a battery-operated tea light, making it a great addition to any mantel or bookshelf.
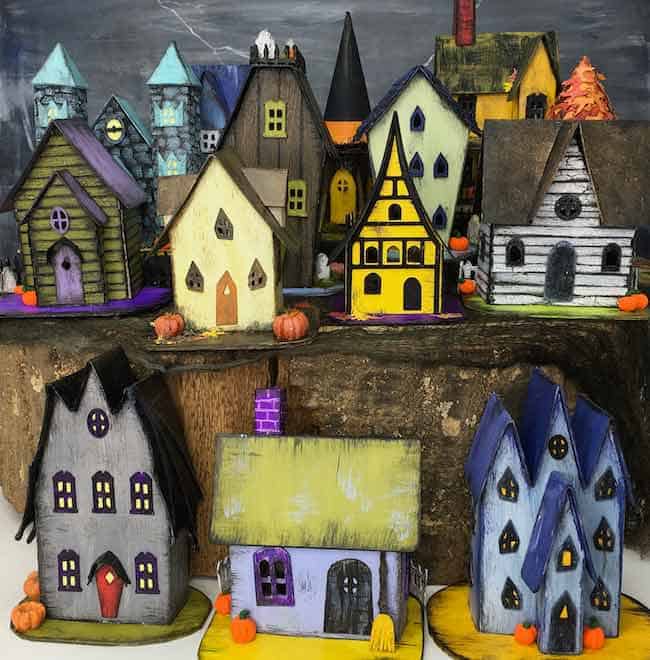
This project provides a comprehensive guide to creating spooky miniature paper houses. The tutorial covers essential design elements, color choices, distress techniques, and spooky additions like tombstones, pumpkins, and trees to give your display a haunted look. It also includes tips on using texture and stamps to enhance the eerie atmosphere.
More Halloween Decor Ideas
Follow me on Pinterest, Facebook, Flipboard, or Instagram for more inspiration on crafts, DIY, free printables, and recipes!




Leave a Reply